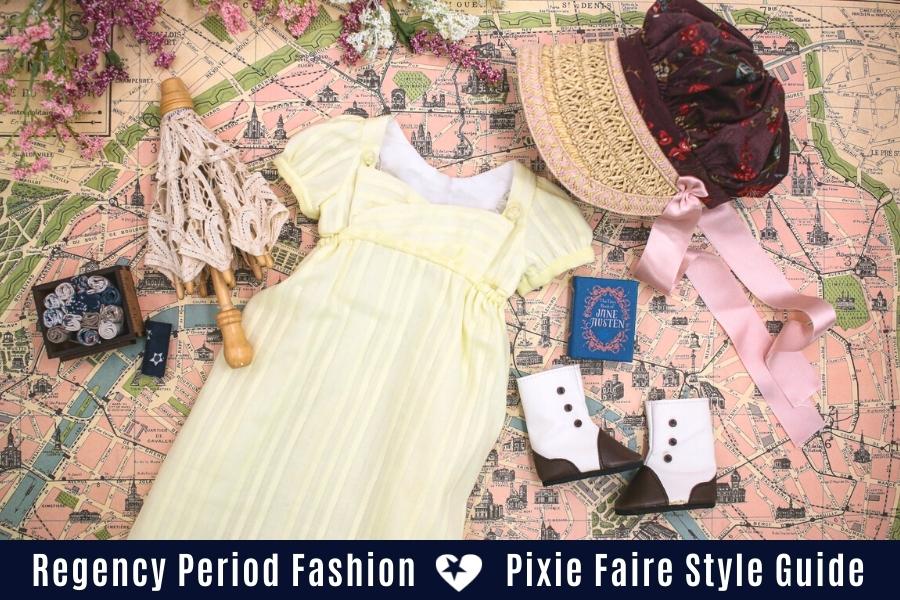
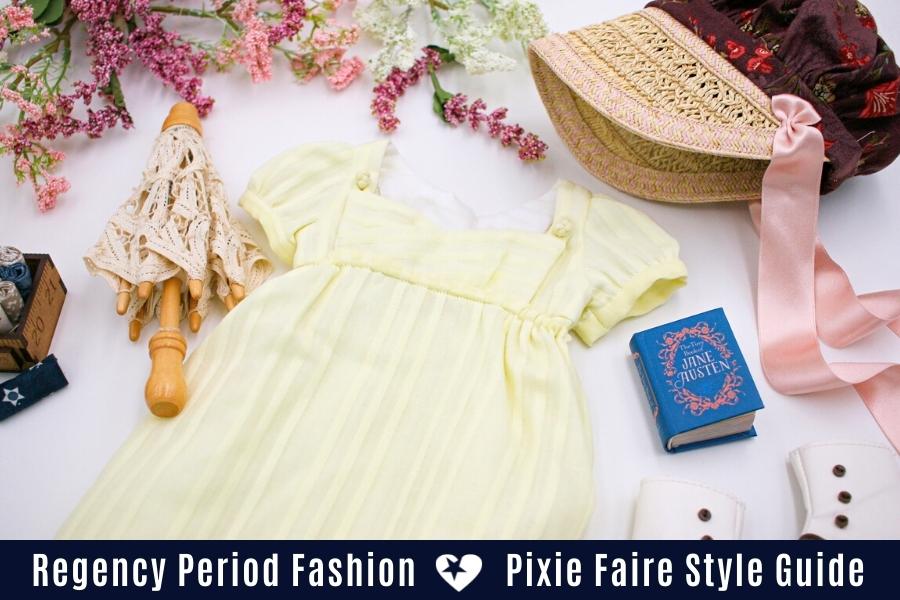
REGENCY PERIOD (1800-1820)
We’ve put together the ultimate guide to help you make a historically accurate Regency era look for your 18-inch doll! The Regency era was named for the period during which Prince Regent, George of England reigned in place of his father the king after he was deemed mentally unfit to rule in 1811. It continued until the kind died, and George subsequently became King George IV in 1820. Although the true Regency era only lasted from 1811 to 1820, it is sometimes stretched to include all the way from 1800 to 1820, which is what we will be focusing on in this article.
This period included many great cultural leaps for the Western World, such as the French Empire and the works of Jane Austen. Regency era fashion consisted of five key components: empire waistlines, empire dresses, outerwear, embellishments, and accessories. Use these components to make a lovely Regency era look for your doll!
Bonus Giveaway! Enter to win a Mood Fabrics gift card and be on your way with a fabulous selection of fabrics and embellishments to get your started with your next sewing project. To enter, scroll down to the bottom of the post and read the details.
JANE AUSTEN (The Inspiration)
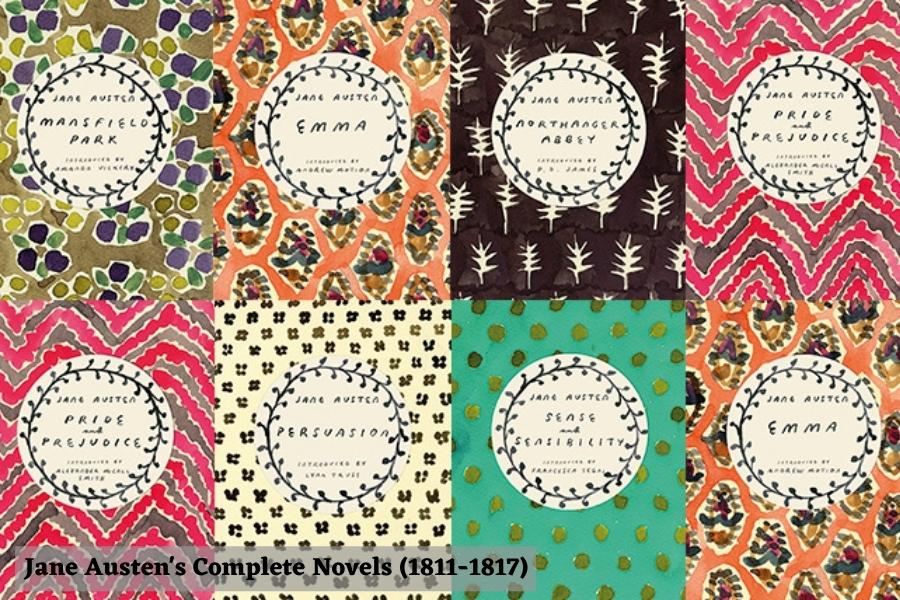
Jane Austen is arguably one of the most well-known female author of all time. Ironically, despite her enduring reputation, her list of published novels is rather small. Her publication period lasted from 1811 to 1817, and only four of her books were published during her lifetime. These were Sense and Sensibility (1811), Pride and Prejudice (1813), Mansfield Park (1814), and Emma (1815). After her death in 1817 two more of her novels were published (Persuasion and Northanger Abbey, both published in 1817). Her works have inspired countless movies, television shows, stage productions, and many more. Her name has become synonymous with Regency era fashion for many. If you are a Jane Austen enthusiast, then you need to make a Regency era look for your 18-inch doll. Keep reading to find out how!
NAPOLEON AND FASHION
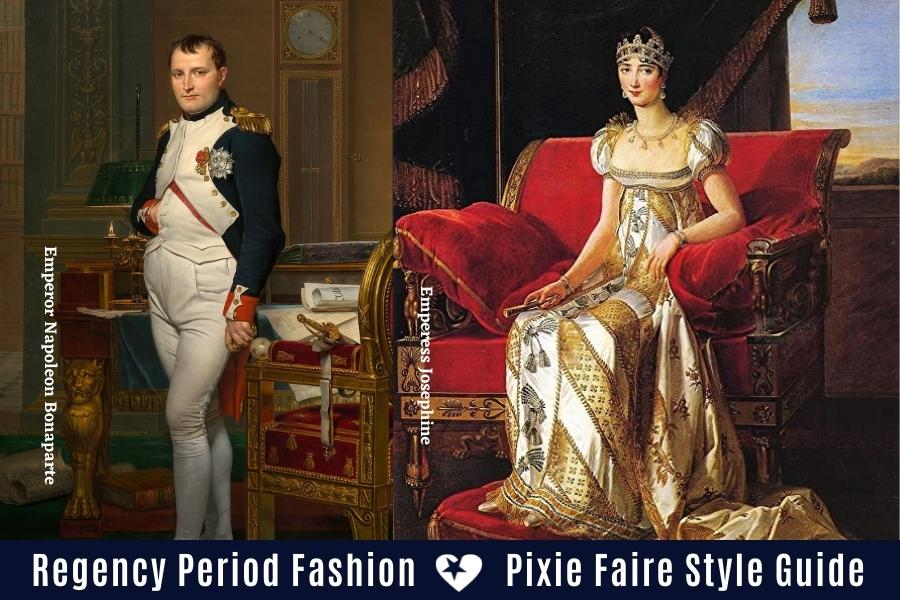
Believe it or not, one of the most influential figures in this period of fashion history was the French Emperor, Napoleon Bonaparte. Napoleon is most commonly known as a military and political figure during the French Revolution and resulting French Empire, but his reach of influence stretched far beyond that. During the French Revolution, the French textile industry greatly suffered to the point of it becoming practically non-existent. Once Napoleon became Emperor in 1804, he took his newfound influence to reverse the textile crisis. He used the surviving fraction of France’s textile industry and converted it to produce tule and batiste which could be used both domestically and abroad. Napoleon further revived the textile industry by creating a rule that no woman could wear the same dress to court more than once. This caused the women to purchase more materials, which in turn helped the economy. Another action Napoleon took to purposefully keep the fireplaces and other heat sources in his court blocked. This caused women to be colder and to thus buy more textiles to make more clothing to keep themselves warm when in his court. Napoleon also influenced fashion through his wife, Empress Josephine. Josephine was the one who popularized empire style dresses (named after the French Empire) and waistlines, which were the dominate style of the era.
THE EMPIRE WAISTLINE
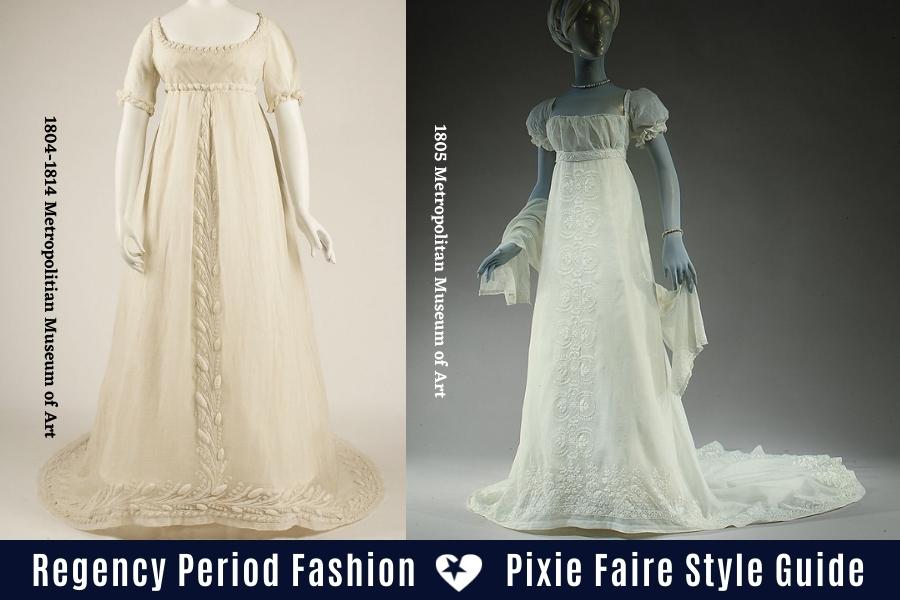
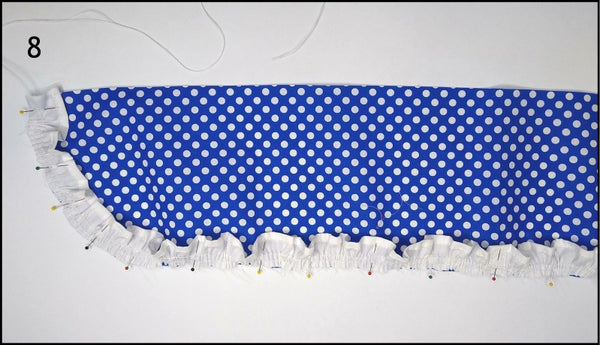
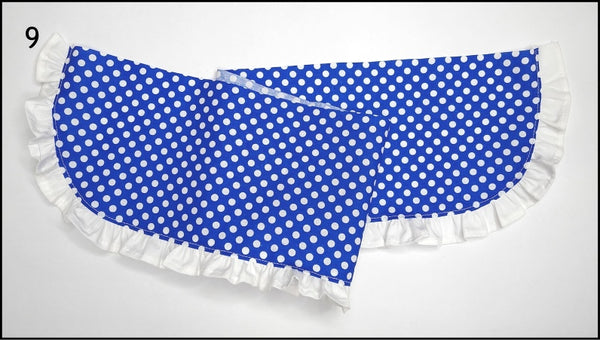
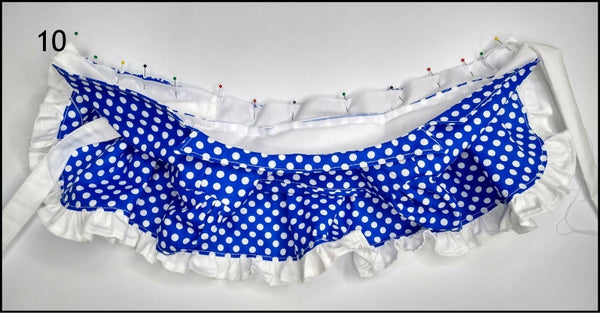
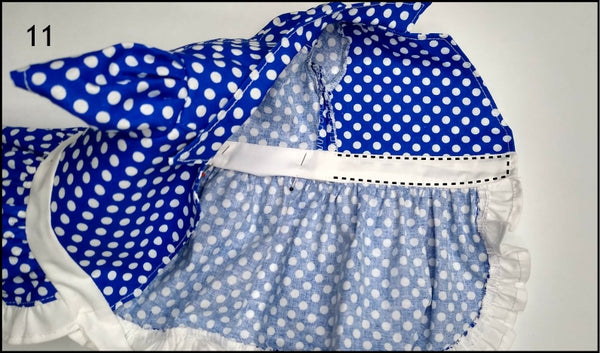
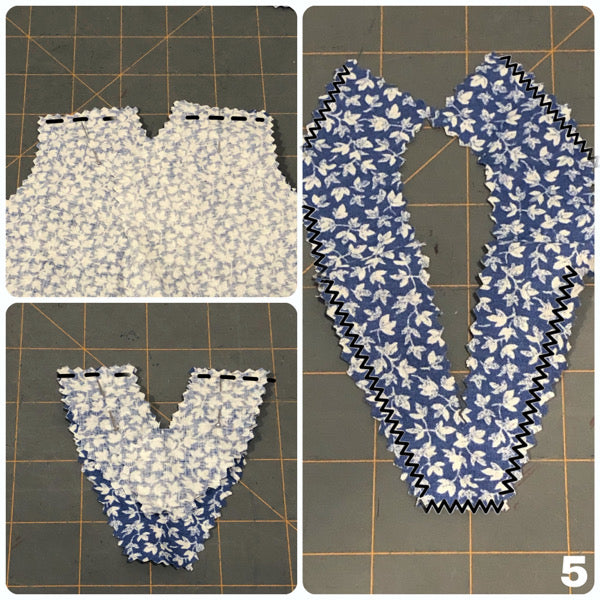
One of the most defining elements of Regency era fashion is the “empire” waistline, which was used on dresses, coats, and other garments. These waistlines are characterized by several elements. The first and most notable of these was their high placement. The waistlines gradually rose from the natural waist at the beginning of the century until about 1815 where it landed right beneath the bustline. This was the highest point the waistline rose to in modern Western fashion and is commonly known as the “empire waist.” By the mid-1820s the waistline retreated back down closer to the natural waist where it remained throughout the Victorian era.
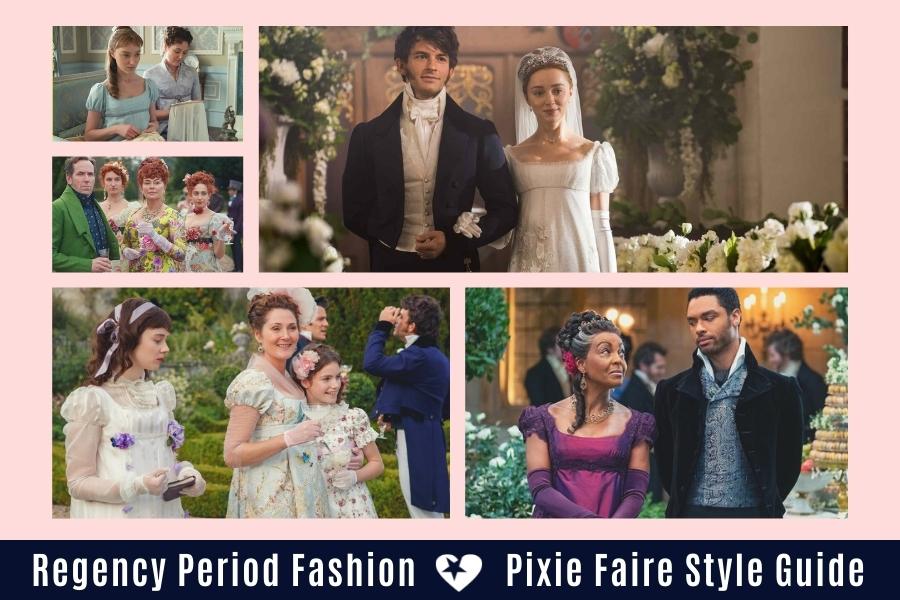
With the recent popularity of the show Bridgerton, and the second season launching in March 2022, the Regency style is front and center and getting lots of attention! Whether or not you choose to watch the show is up to you, but a quick internet search for the costumes of Bridgerton will flood your screen with so much inspiration! If you're a fan of the Regency period, the costumes for the show are definitely worth a peek!
THE EMPIRE DRESS
The most iconic garment that the empire waistline used on was, of course, the empire dress. Other elements that characterized the these dresses were their sleeves, skirt length, and neckline. Sleeves on empire dresses were more often than not short, puffed, cap sleeves. An interesting fact to note about these sleeves was how they effected the wearer’s movement. Because of the short and narrow bodice, the sleeve placement was slightly further back than where shoulders naturally sat. This was done purposefully in order to restrict arm movement and reinforce the daintiness of the wearer. Skirts on day dresses were no longer floor-length as they had been in the century before. Instead, they rose up to end slightly above the ankle line. Skirts also lost a bit of their volume and ranged from straight, column-like skirts to fuller, A-line skirts. Square necklines were commonly worn, which exposed more of the neck and chest than decades before. Some dresses also included gathers around the front and back necklines.
OUTERWEAR
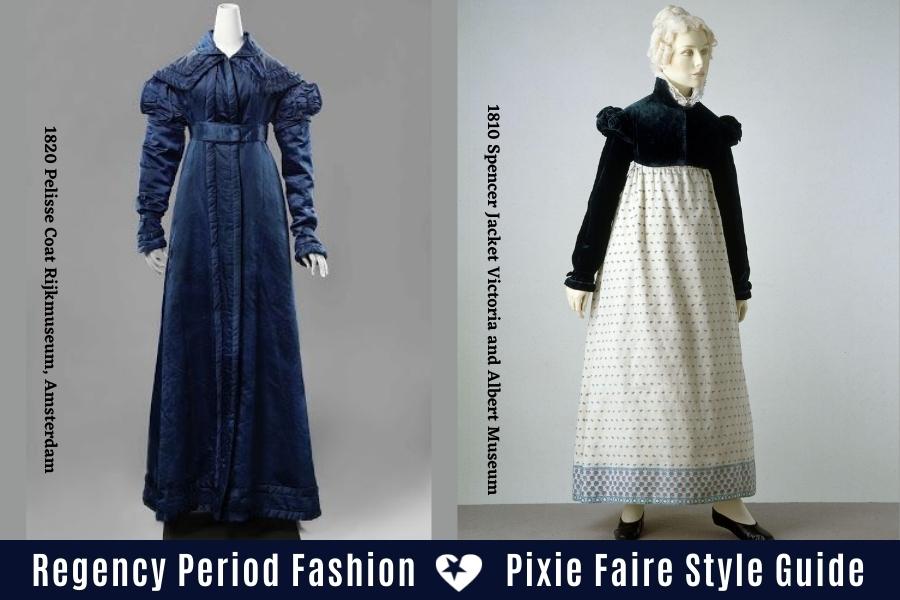
A variety of outerwear became popular for women to wear during the Regency era. Wraps and shawls were quite popular during this period. This is probably because some of the easiest to produce as they are often cut as either a simple rectangle or triangle. Like the previous decades, capes were still present but fading from popularity. More technically interesting outerwear garments, like the Spencer coat and the pelisse coat, were becoming more commonly seen. The Spencer coat (named for the Earl Spencer) was inspired by mens’ riding coats and was a tight-fitting, waist-length coat, with tight sleeves. The pelisse coat was an overdress or a coat-styled dress. It was close fitting, featured an empire waistline, and was often decorated with fur or contrasting fabric linings.
EMBELLISHMENTS

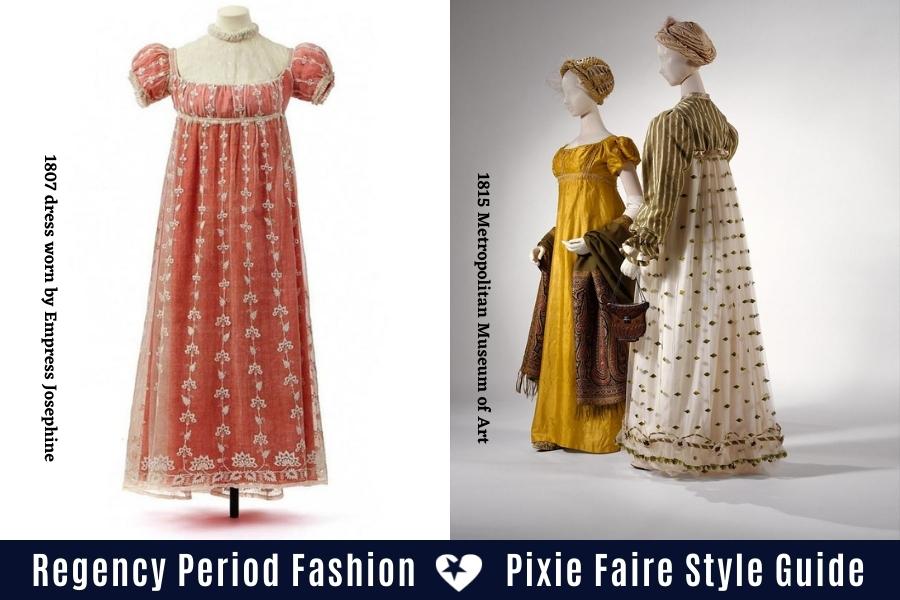
Like many other periods of history, embellishments were an important part of clothing and a visible way to show one’s status. One of the most popular methods of embellishing in this time period was white-on-white embroidery, which is white embroidery on white fabric. This allowed the embellishments to be subtle, but still expensive and impressive. The embroidery motifs that were used during the Regency era (especially from 1800 through 1810) were inspired from classical cultures, like Greece and Egypt. These motifs are another example of Napoleon’s cultural influence. Grecian and Egyptian styles were brought back and popularized after Napoleon’s expeditions in these countries. Napoleon would bring back items that had elements such as geometrical Greek embroidery or decorated woven stoles to present them to his wife, Empress Josephine. After she was seen wearing them, everyone else wanted to be seen wearing them as well.
ACCESSORIES
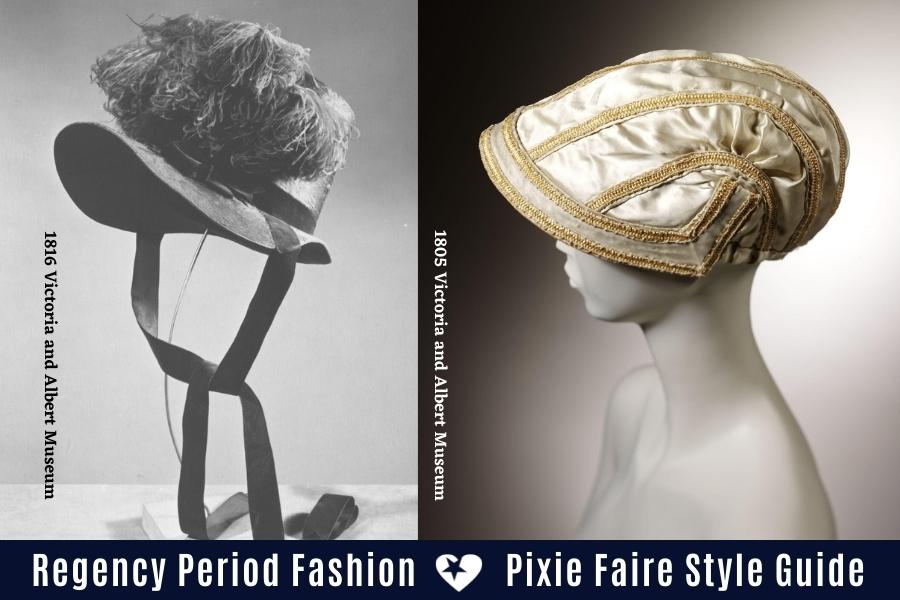
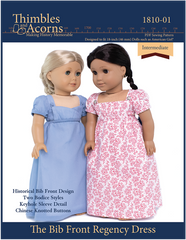
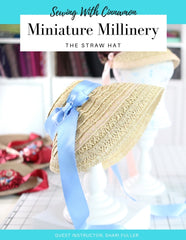
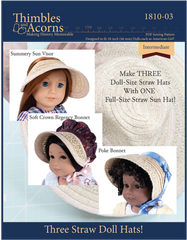
Essential accessories to Regency era women would have been a fichu, a parasol, gloves, and a hat or bonnet. A fichu was an accessory developed for modesty. It was a piece of cloth (that could range in material) that was tucked into the bodice of a gown to preserve modesty when a woman was showing off a tad too much. It was more standard for younger, teenage girls who weren’t “out” in society yet. A parasol provided sun protection for ladies and, because of such, as seen as a necessity when going out. Gloves were standard social protocol at the time. A lady would have never been seen without her gloves during the evening, but occasionally may have been without them during the day. Finally, hats or bonnets were the finishing touch on the Regency look. Regency era headwear was all about the fantastical and were outrageously embellished with ribbons, feathers, or other options. Styles of hats ranged from bonnets to even turbans.
FABRIC CHOICES
Common fabric choices for the Regency era were cotton lawn, muslin, and batiste for most garments. During the winter season other fabrics, like velvet, linen, wool, or fine silk, were also popular. In addition, during the winter women would wear petticoats made from flannel to provide an extra layer of warmth. Muslin was particularly favored during this time because of how easily laundered it could be, especially in comparison to textiles like silk or velvet. Favored color choices were mostly pastels for daywear and white for eveningwear. Wearing white was reserved for special occasions because of how difficult the color is to keep clean and keep looking nice. Wearing white during the daytime would have been one of the ultimate status symbols that could have been conveyed through dress because it was easy to get dirty and hard to clean. You can take a look at the links below for our suggested fabric and embellishment choices!
Bleached Muslin Fabric from Joann Fabrics
White Cotton Batiste from Mood Fabrics
White Cotton Embroidered Eyelet Trim from Mood Fabrics
White Feather Fringe from Mood Fabrics
Gold Metallic Braided Cording from Mood Fabrics
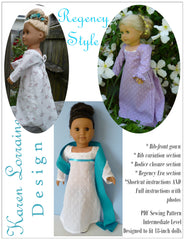
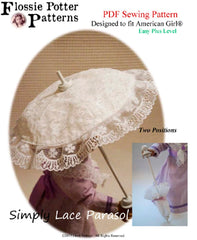
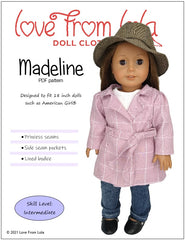
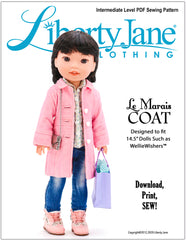
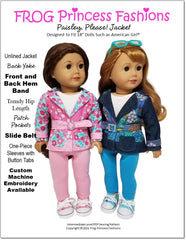
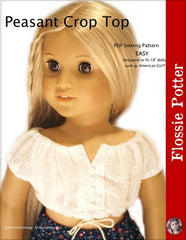
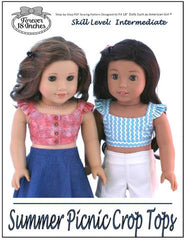
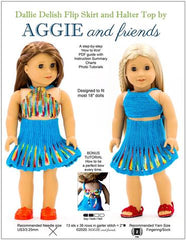
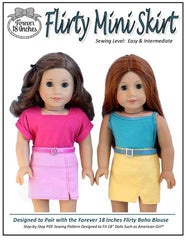
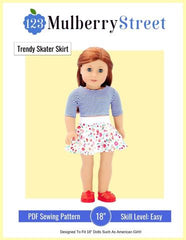
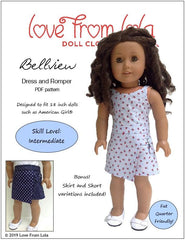
larougetdelisle offers a wide variety of Regency era-inspired patterns but to start check out these patterns below:
We’d love to hear from you! Leave a comment and tell us which Jane Austen novel (or movie/tv adaptation) is your favorite! As a reminder, these were Sense and Sensibility, Pride and Prejudice, Mansfield Park, and Emma, Persuasion, and Northanger Abbey.
We'd love to see your creations too, so if you make one, please tag us on Instagram @PixieFaire
You can also share pictures in the larougetdelisle Inspritation Gallery right here on the website, either use the #pixiefaire when posting on IG, or just click the little + box to upload your picture right here on the website!
Thanks everyone!
For larougetdelisle, Katie
ENTER TO WIN A $50 Mood Fabrics Gift Card!
To enter this week's contest, simply click the link below and then enter through the giveaway widget at the bottom of the blog post, there are many things you can do to earn multiple entry points!
Contest Details: You enter through the entry form that is embedded on this page and appears just below this paragraph, if you don't see it, be sure to visit the page from your desktop or an alternate browser such as Google Chrome. It may not appear on all mobile devices. The complete rules and entry details appear on the entry form. This is not a comment contest - in other words, leaving a comment on the bottom of this page is not an official entry method. The only required entry method is to leave a comment under this post and then confirm that you did it in the contest widget. One person will receive the Gift Card. You can enter once, or gain multiple entries by completing the other entry methods and increase your chances of winning. Please review all Terms and Conditions on the giveaway page before entering. While we wish we could run this contest everywhere, for legal reasons it is only open to eligible residents of the U.S. and Canada, not including Rhode Island. This contest is exclusively endorsed by Liberty Jane Clothing and larougetdelisle.
a Rafflecopter giveaway
Commenting below and confirming your entry in the widget above gives you one entry method, the other methods are listed in the widget above, be sure to enter in as many ways as you can to receive the maximum amount of entries to win the gift card!
(This post and giveaway are not endorsed or affiliated with American Girl®, no endorsement implied.)
We’d love to hear from you. Please leave a comment and tell us, which Jane Austen novel (or movie/tv adaptation) is your favorite! As a reminder, these were Sense and Sensibility, Pride and Prejudice, Mansfield Park, and Emma, Persuasion, and Northanger Abbey.
]]>
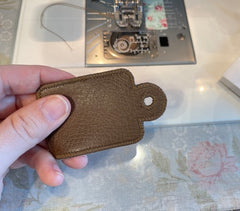
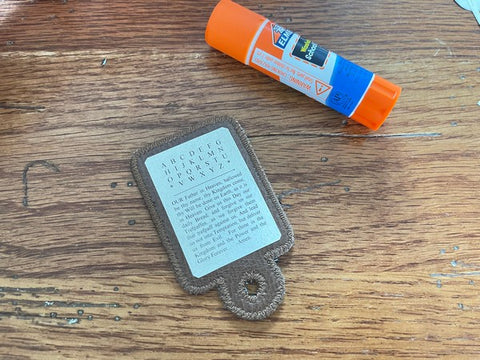
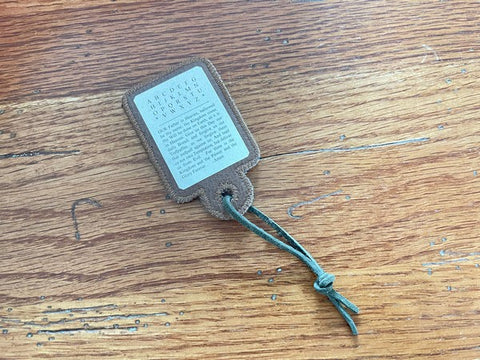
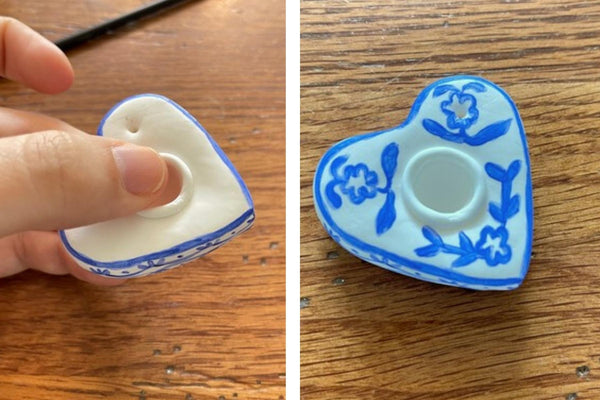
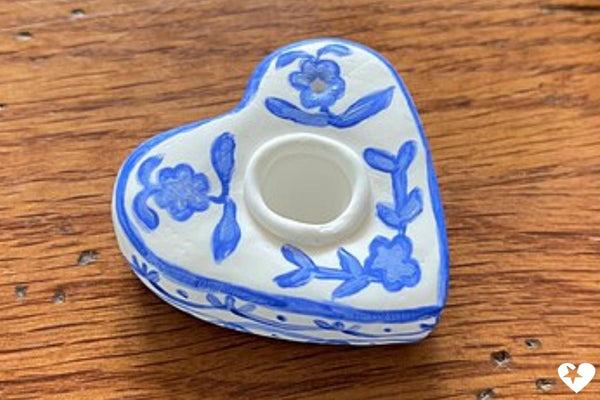
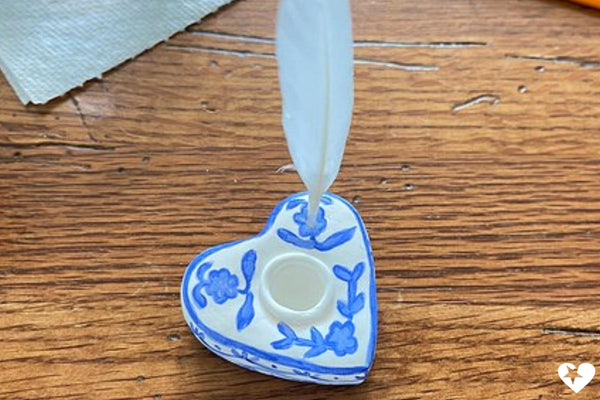
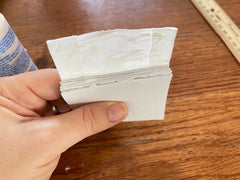
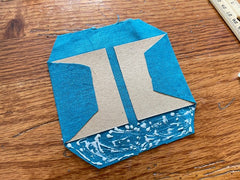
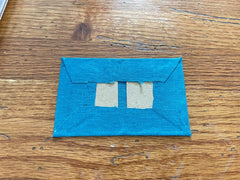
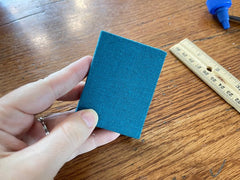
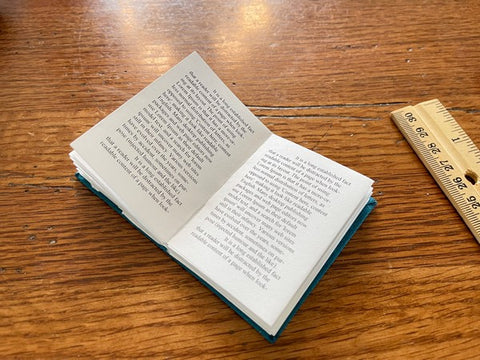
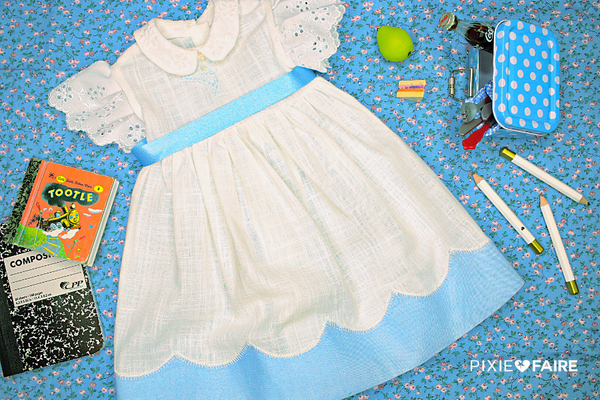
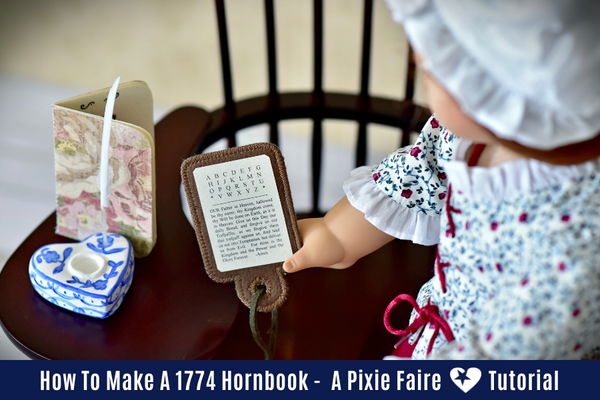 We're wrapping up our historical school supply series with the third item, a hornbook, to complete the set.]]>

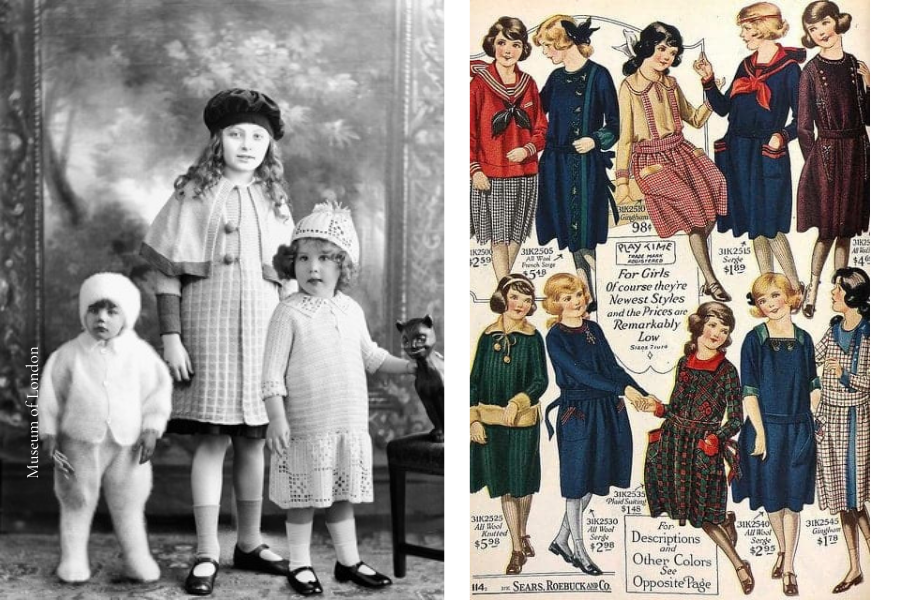
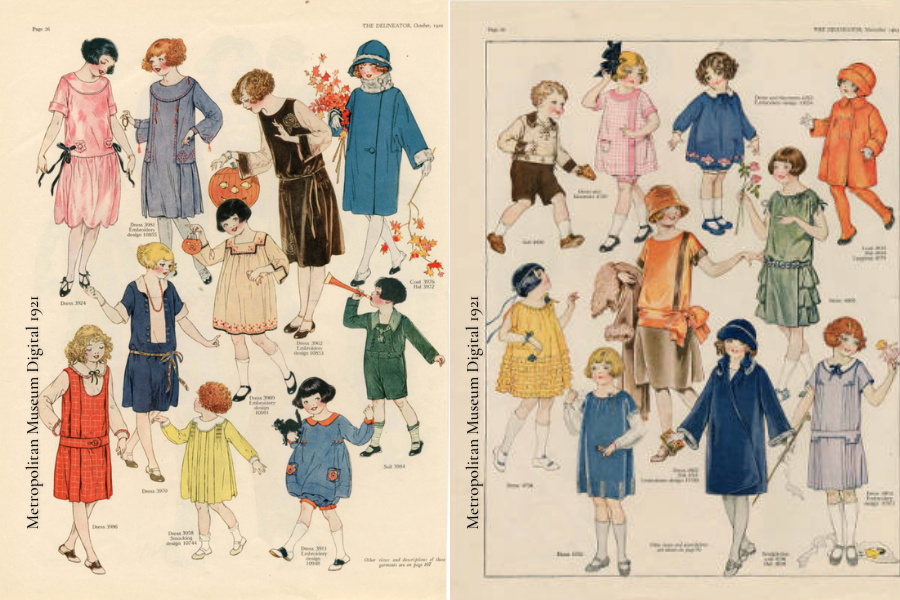
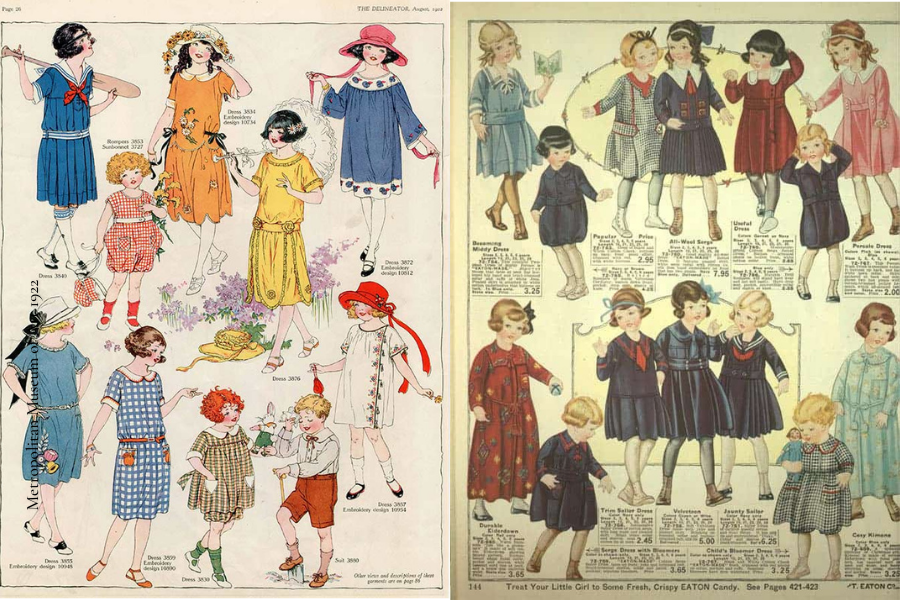
 We’ve put together the ultimate style to help you make a historically accurate 1920s look for your doll such as
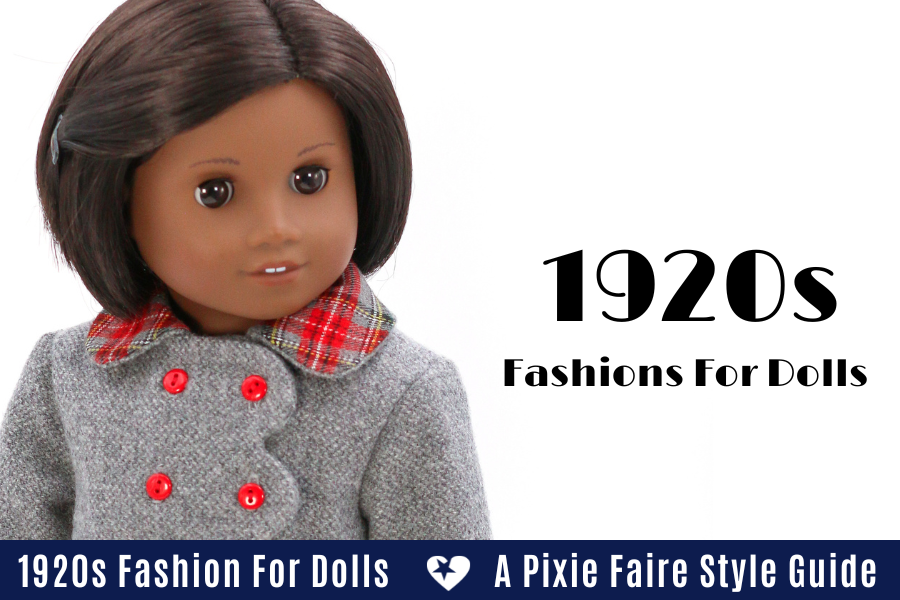

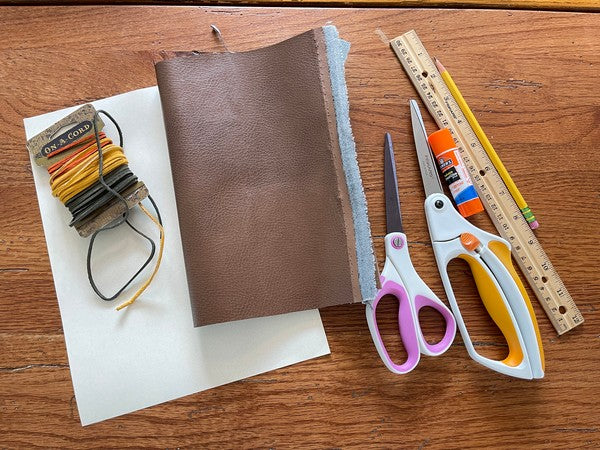
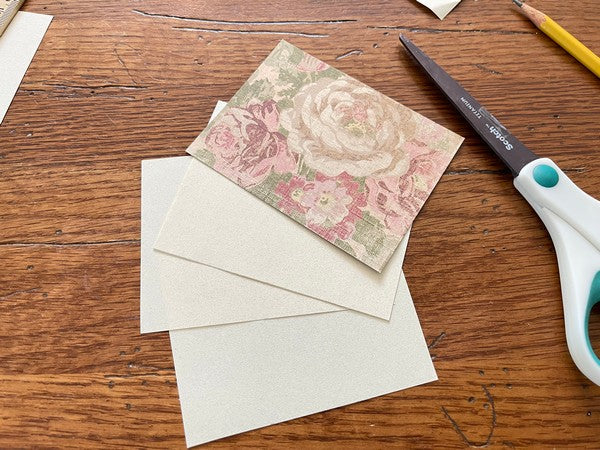
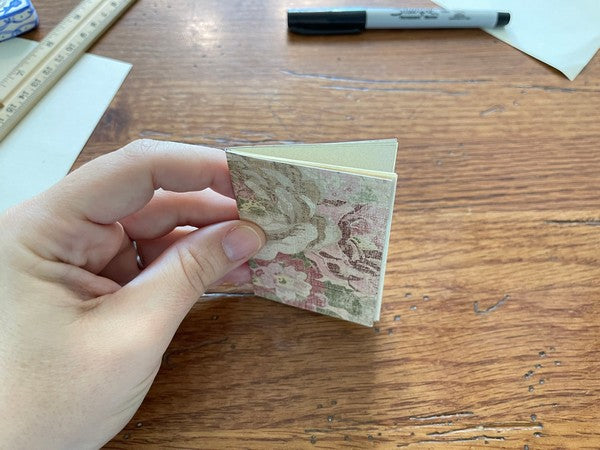
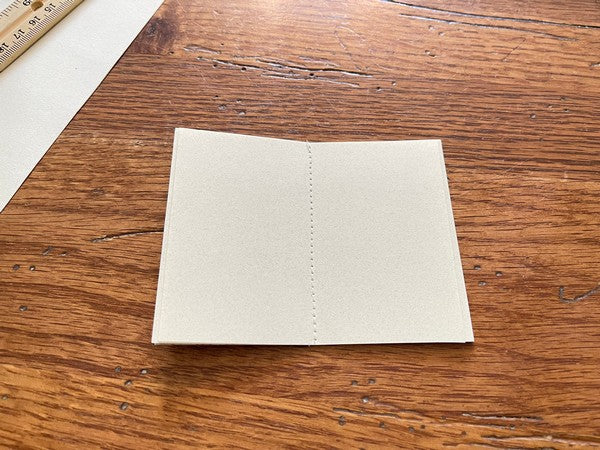
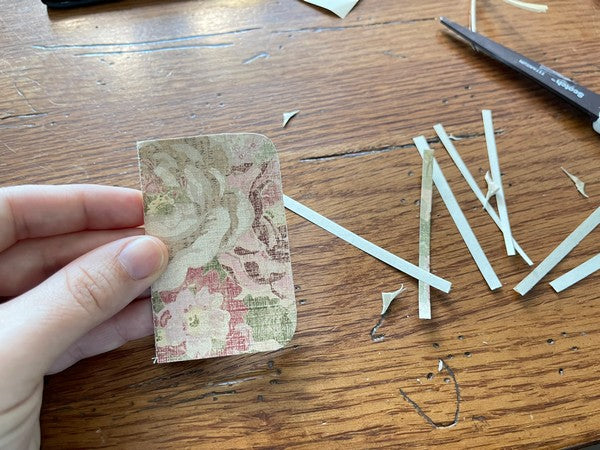
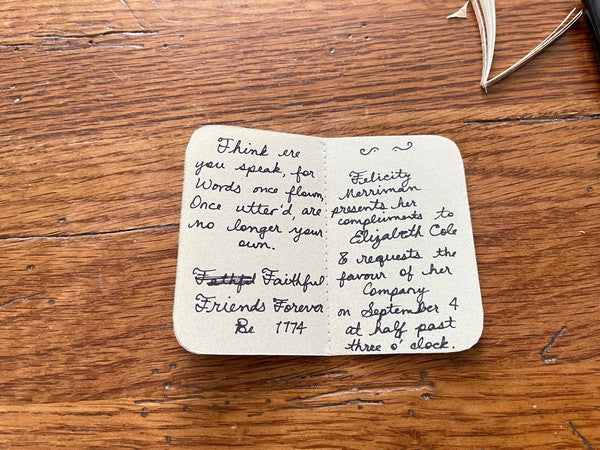
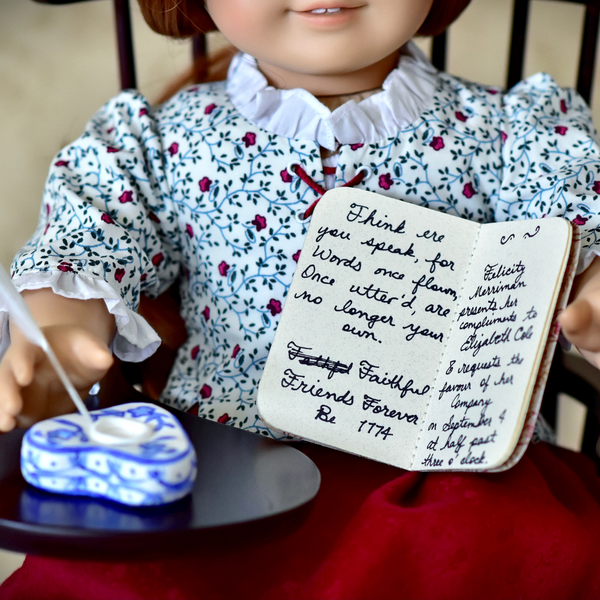
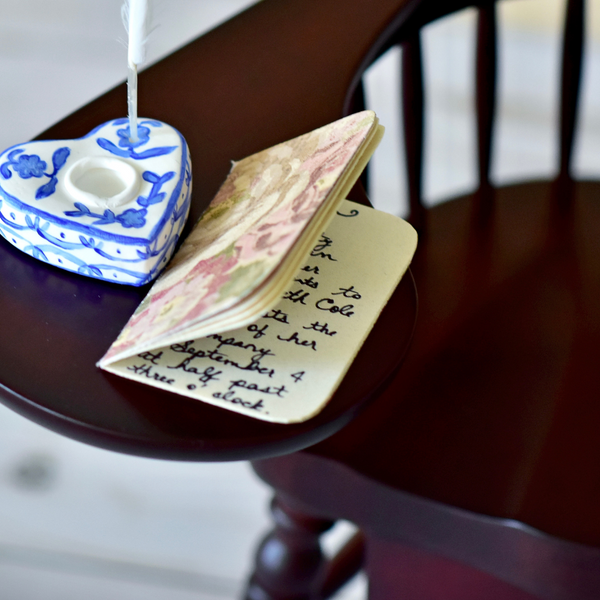
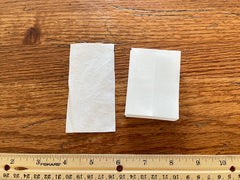
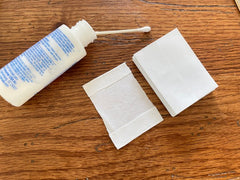
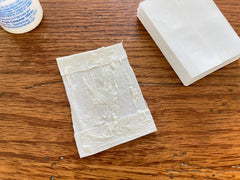
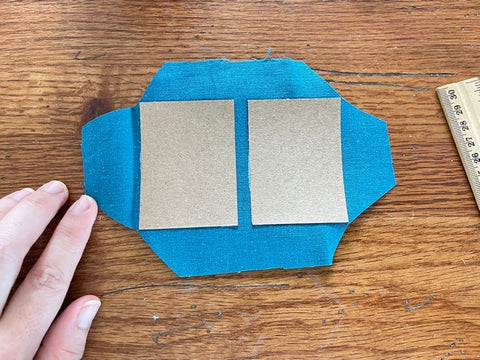
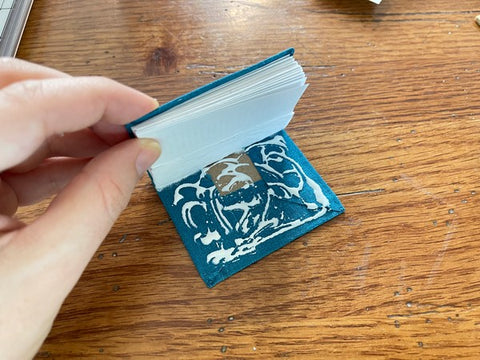
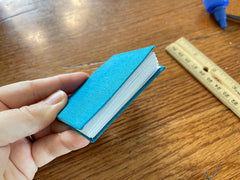
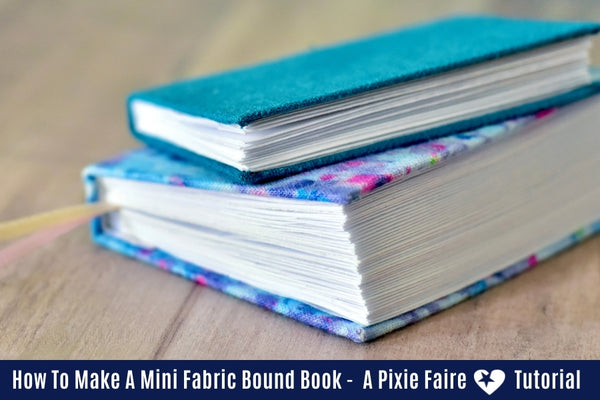
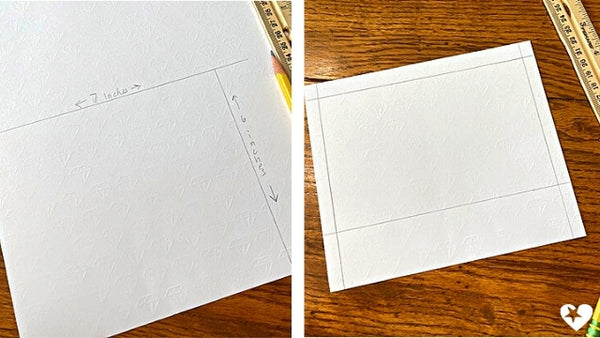
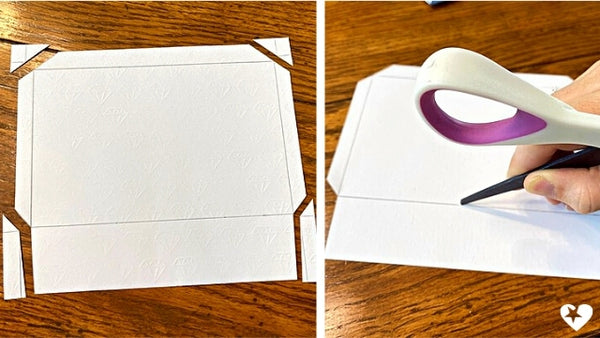
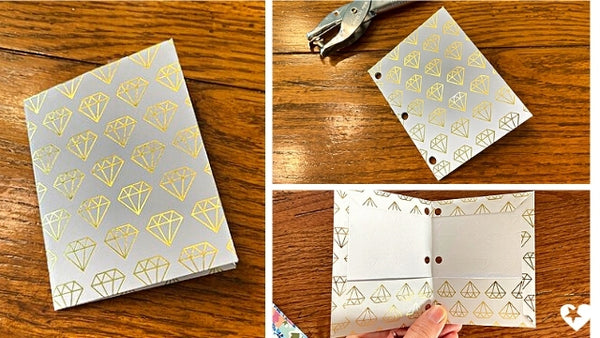
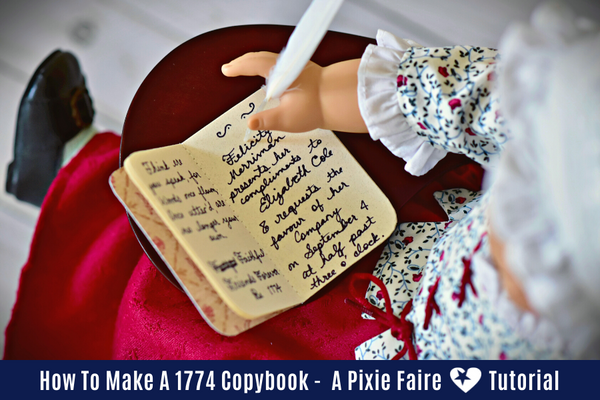 Are you ready for the second tutorial showing you how to make school supplies for historical dolls such as Felicity Merriman? A girl in the 18th century would not have had notebooks of lined paper to do all her writing on. She was provided with a copybook, which was a small bound book of paper. For our copybook, we are going to use some pretty paper Felicity would like, then we get to write in it ourselves!
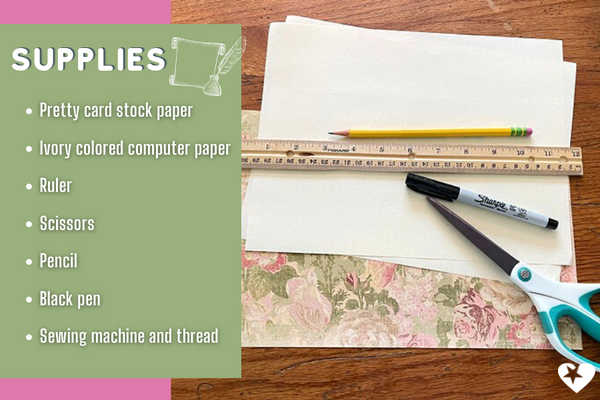
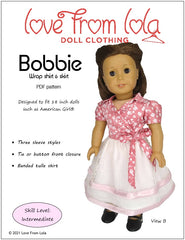
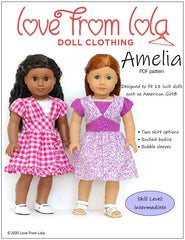
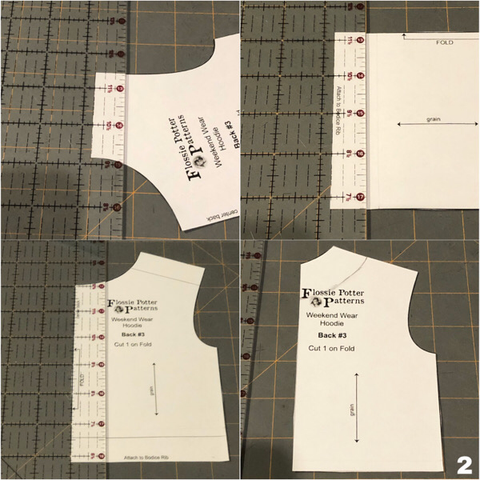
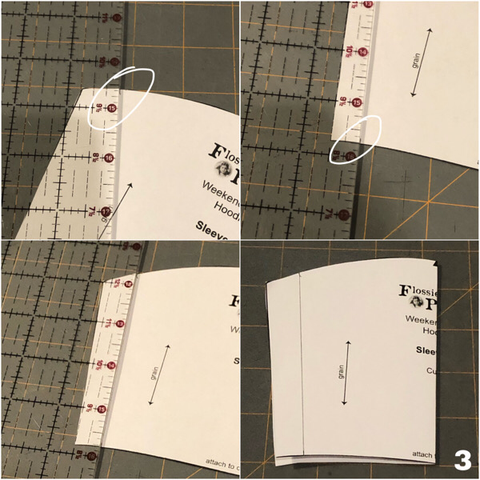
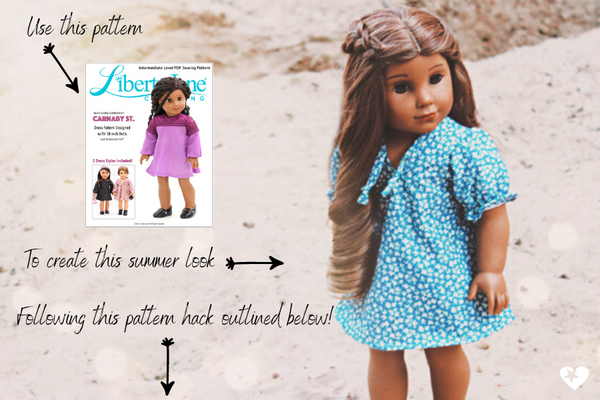
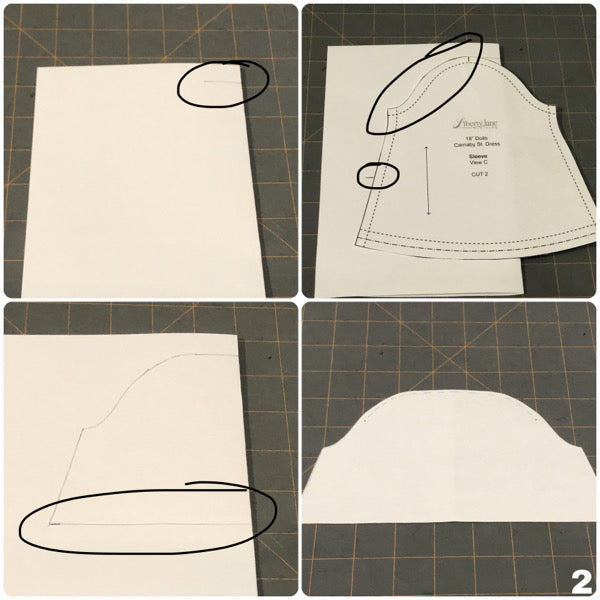
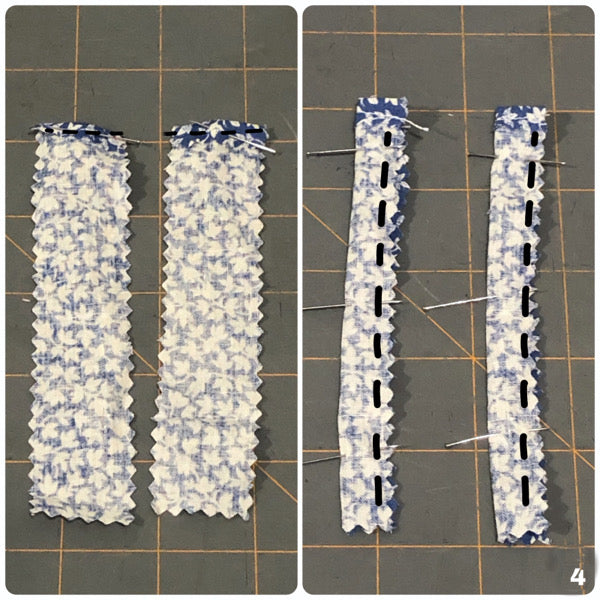
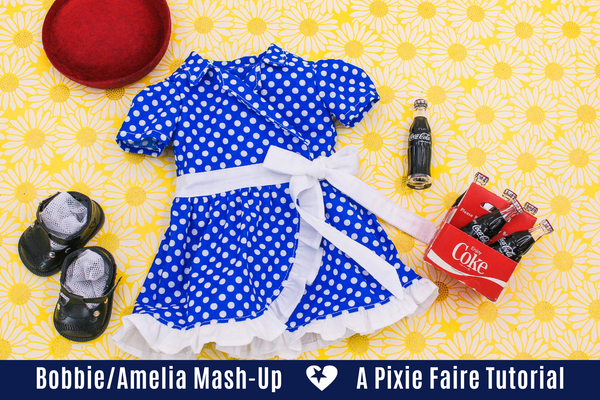 Did you know that many patterns can be used interchangeably? In this patten hack, Laura the designer of
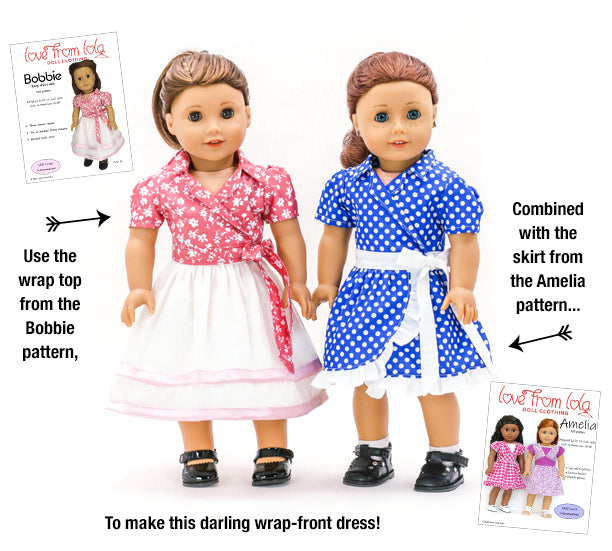


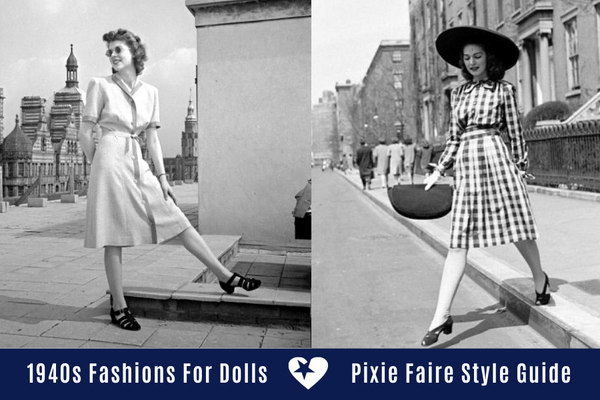
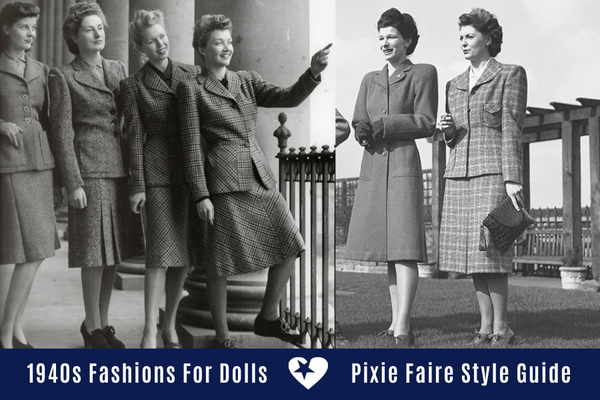
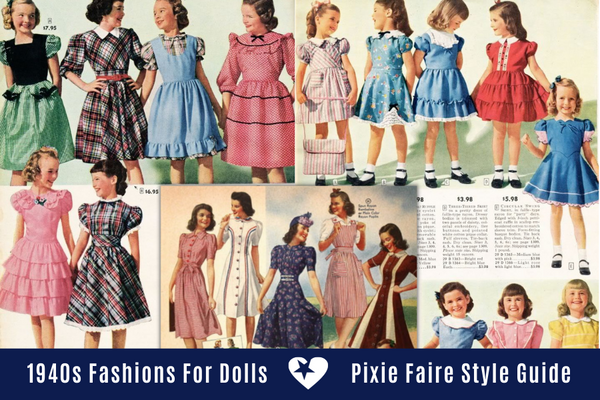
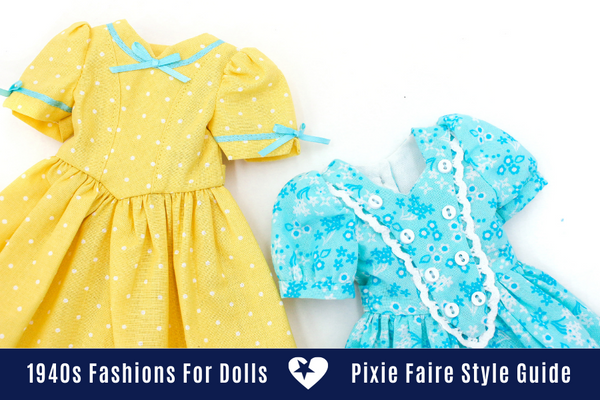
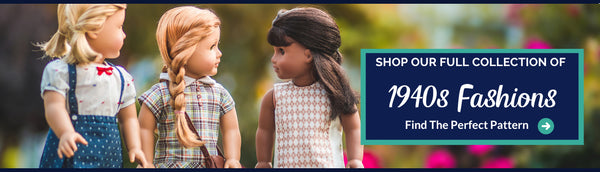
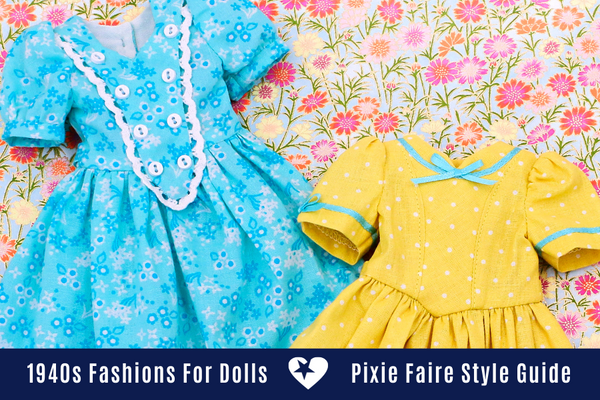 We’ve put together the ultimate guide to help you make a historically accurate 1940s look for your doll, such as
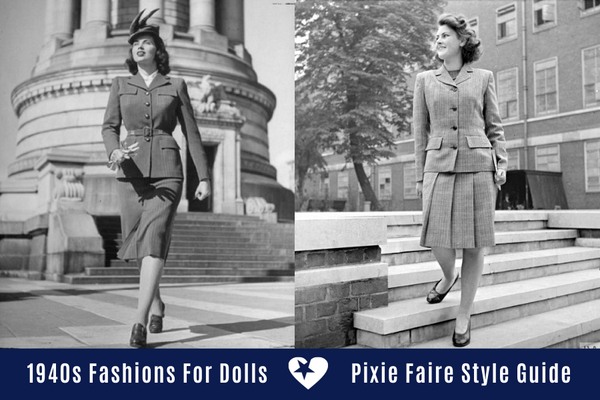


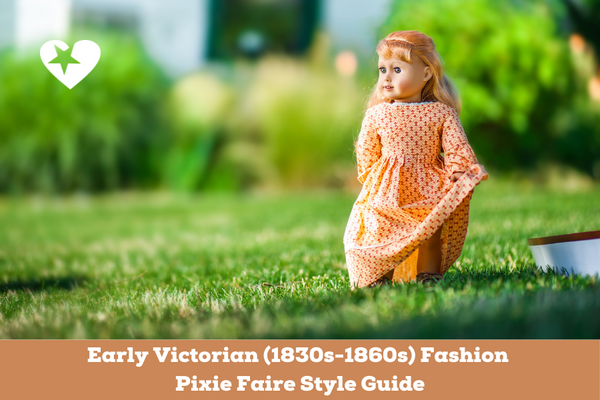 We’ve put together the ultimate guide to help you make a historically accurate early Victorian period look for your 18-inch and other size dolls!


 We’ve put together the ultimate guide to help you make a historically accurate Regency era look for your 18-inch doll!
 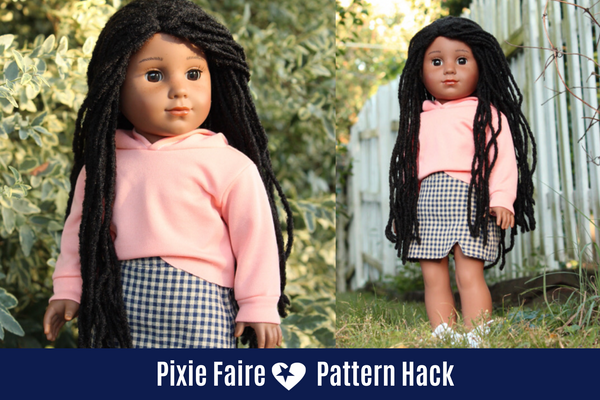 As winter transitions to spring, your dolls need some cozy new hoodies! Our guest blogger @graceloves2bake hacked the Weekend Wear Pullover Hoodie to create a cute and simple cropped hoodie and in excited to share it with us here on the larougetdelisle blog. It’s just short enough to be trendy and just long enough to be modest and warm! It sews up super fast and doesn’t involve hook and loop tape or a zipper!
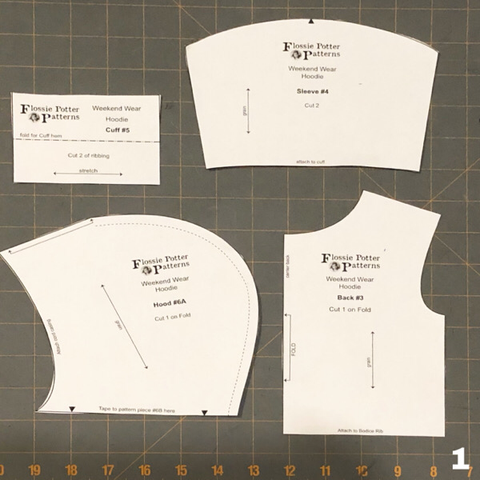

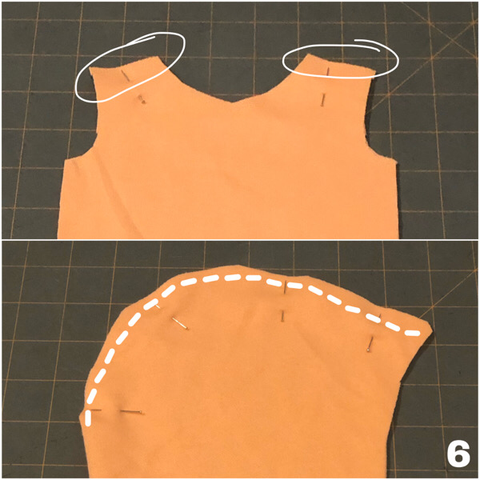

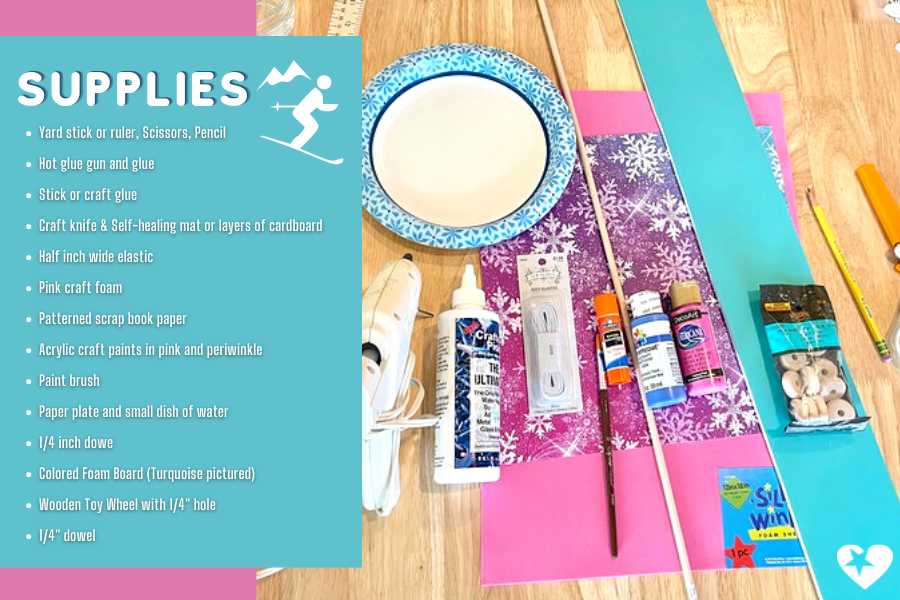
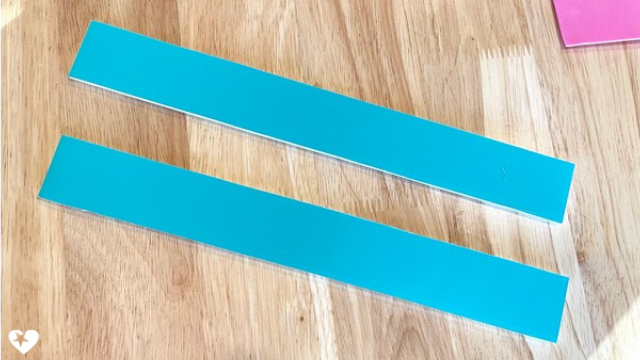
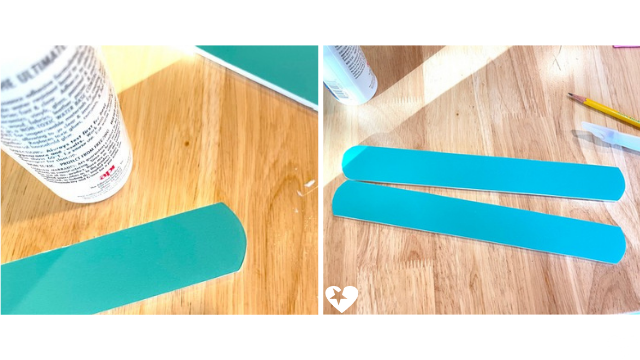
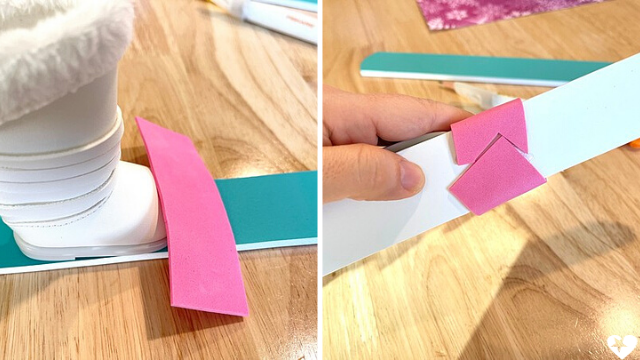
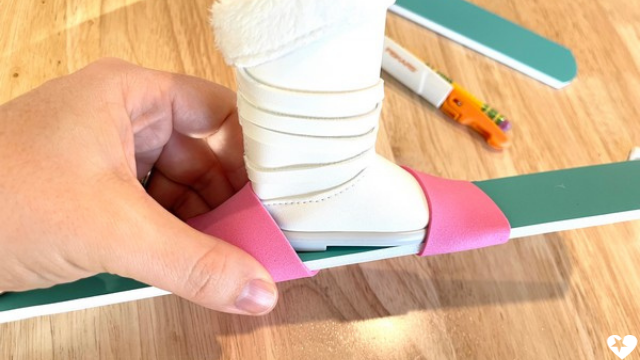
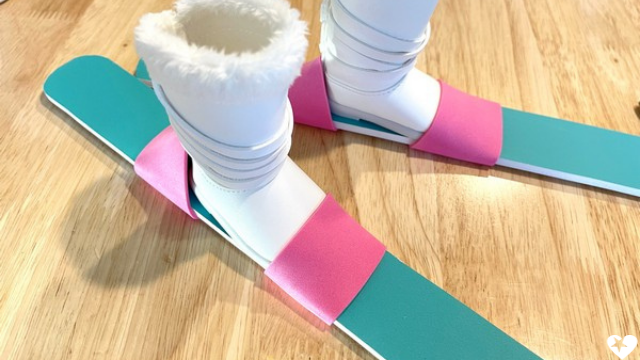
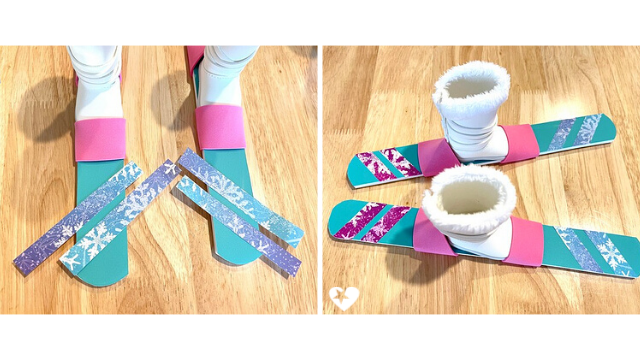
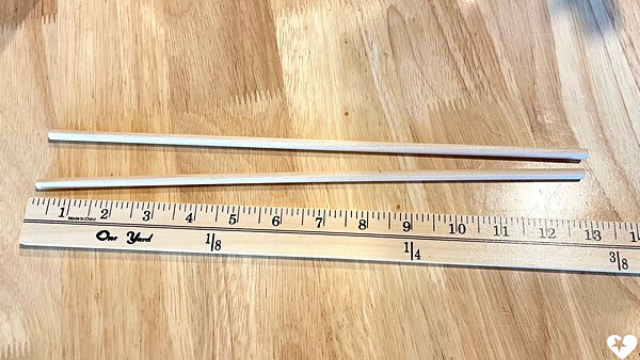
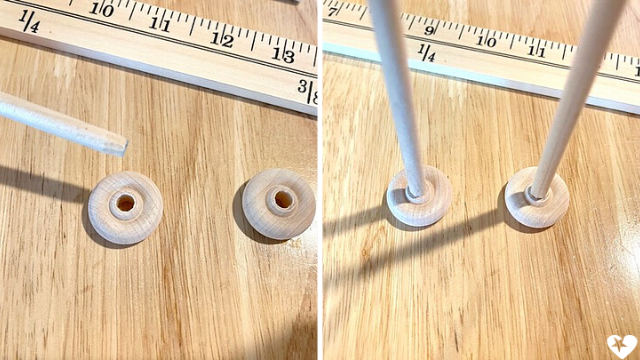
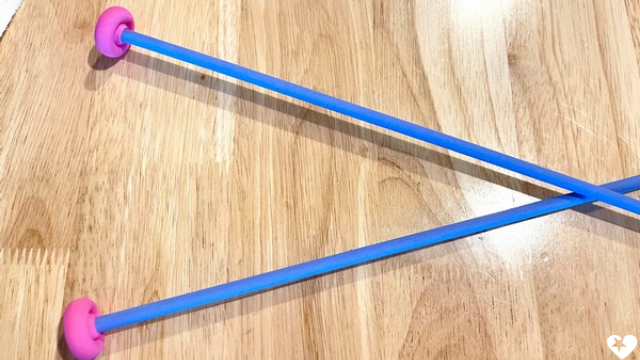
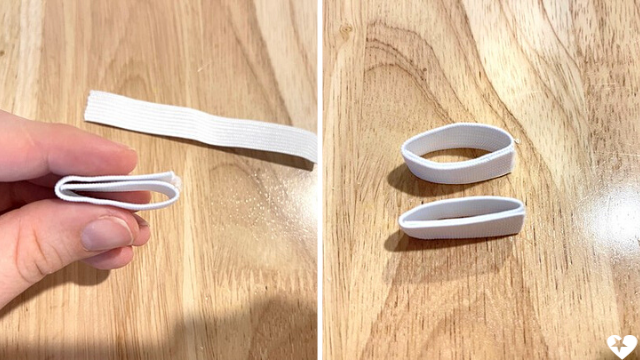
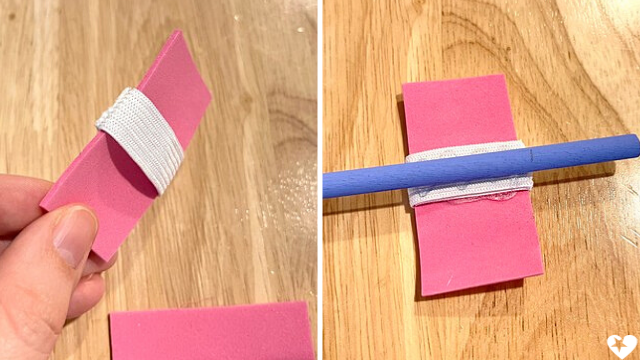
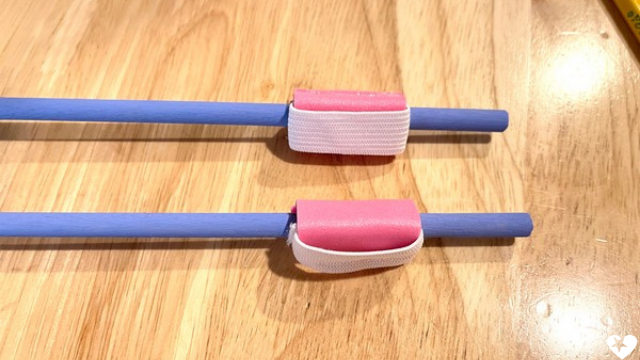
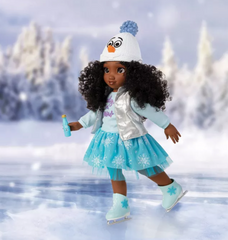
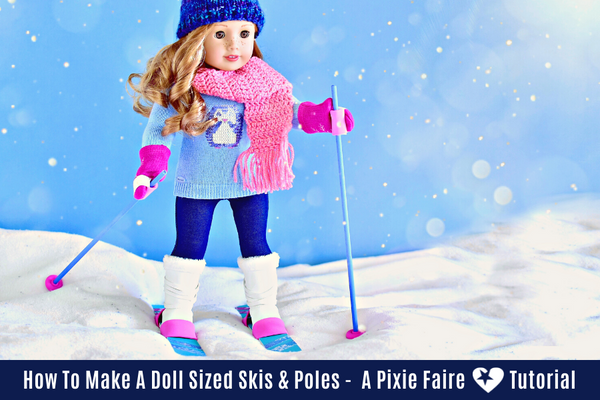 Winter is in full swing! The slopes are packed with snow which means it's time to get your gear together and head out to the mountains! Whether you're dreaming of being as great a skier as your favorite Olympic champion, or you're just in it to have fun & create lasting memories - we've got a tutorial you're sure to love! Follow along as we show you how to make skis and ski poles for your 18-inch doll!
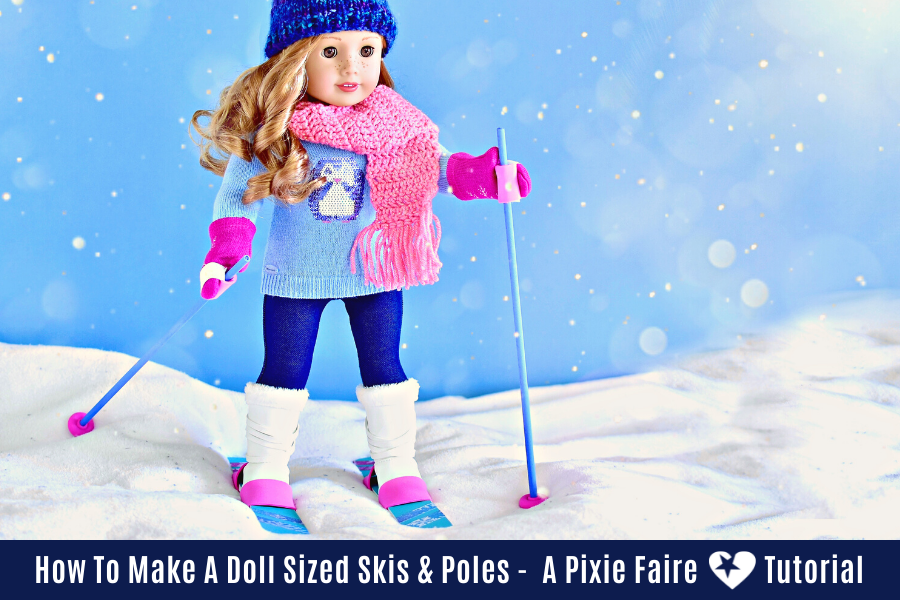


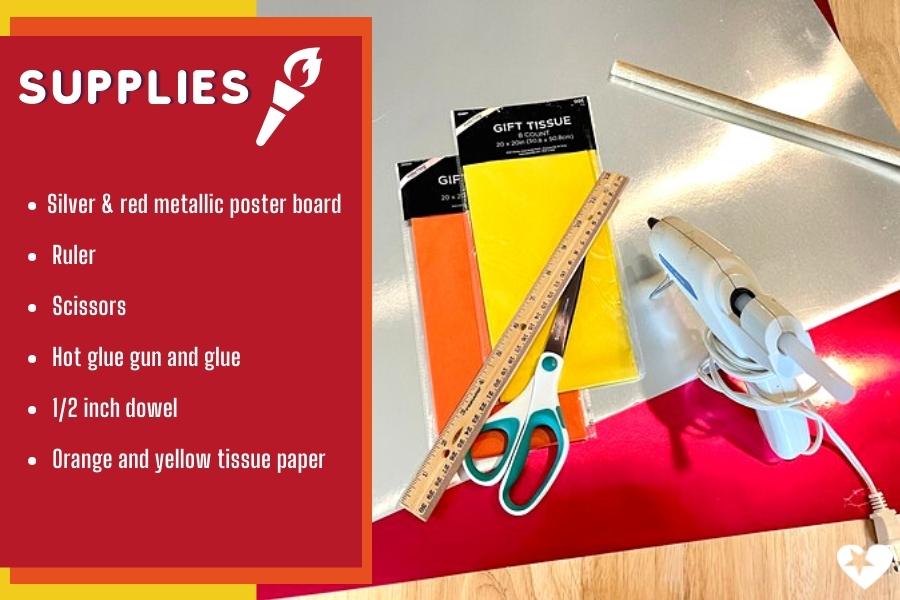
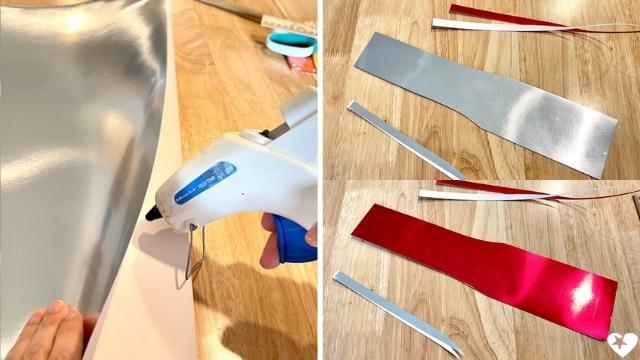
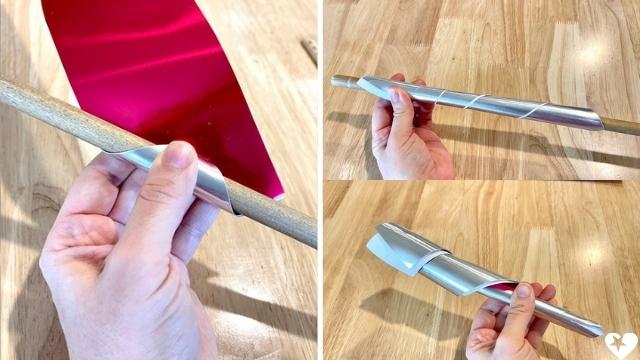
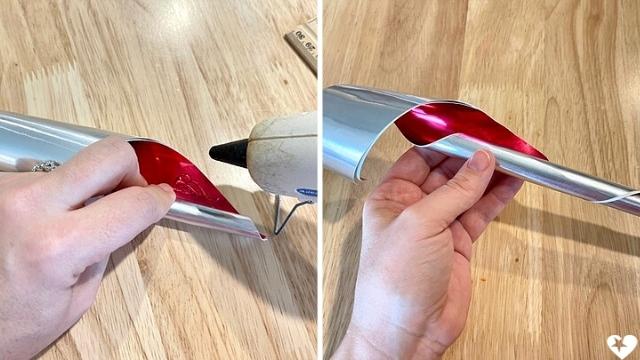
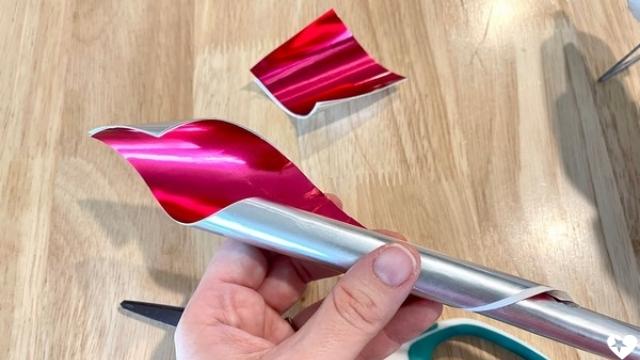
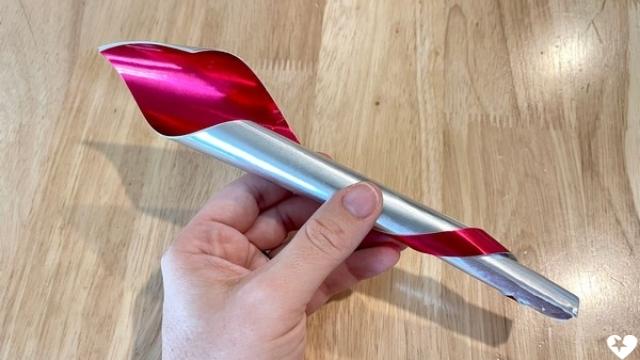
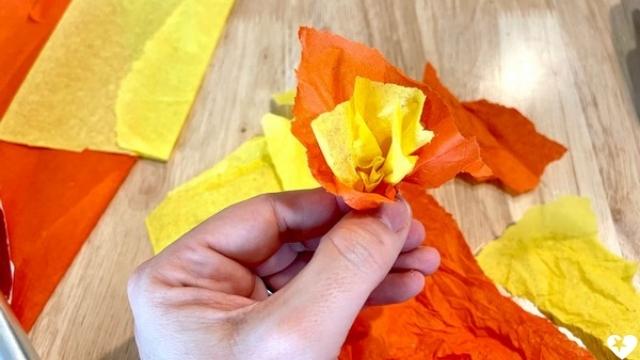
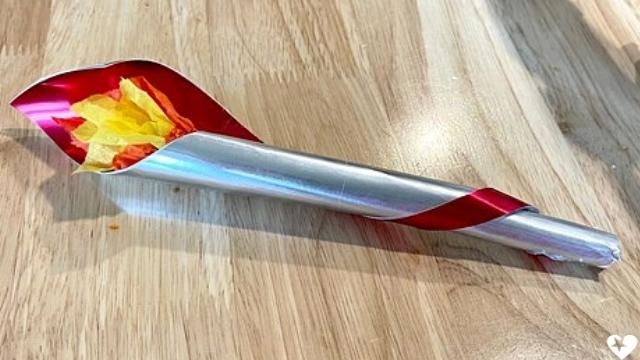
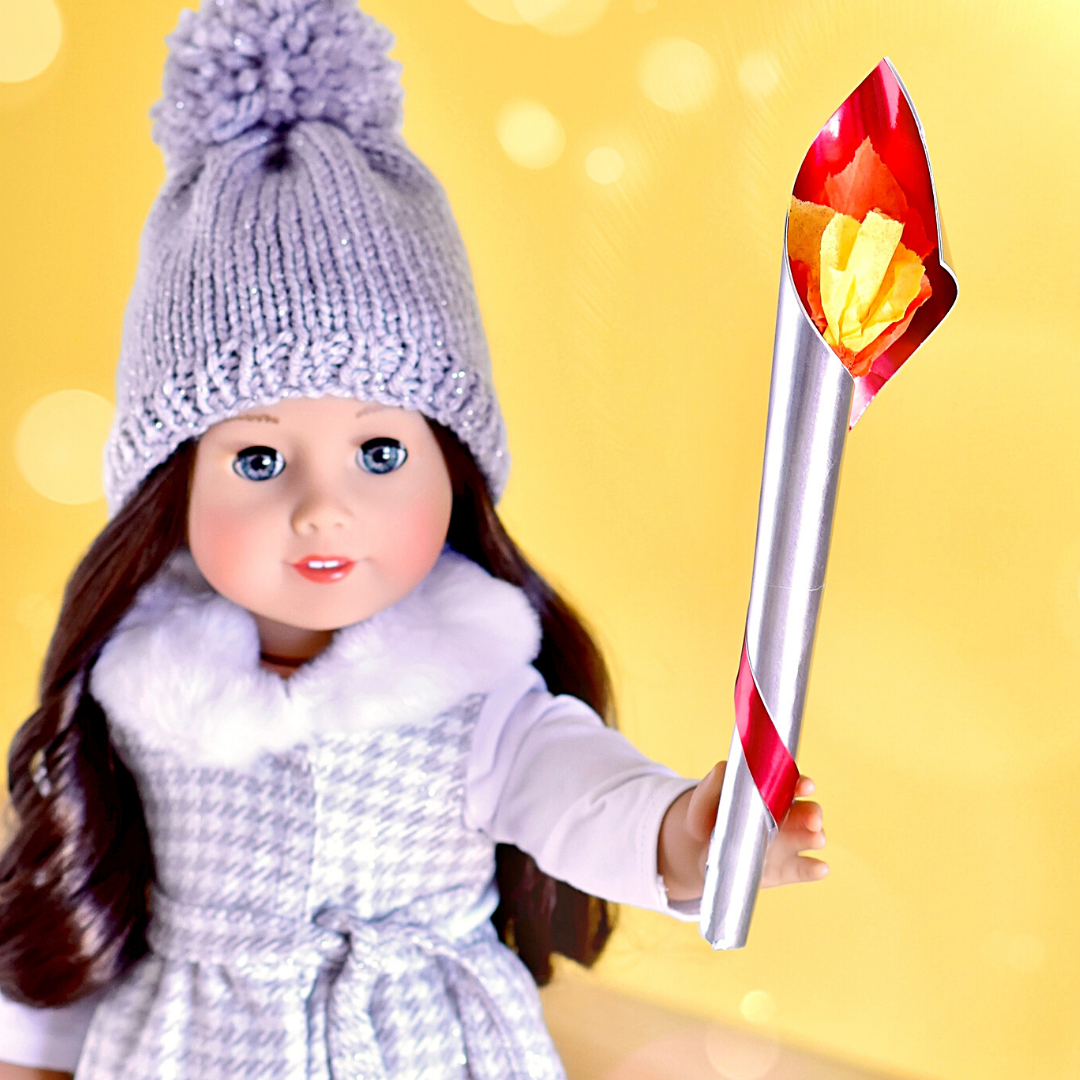
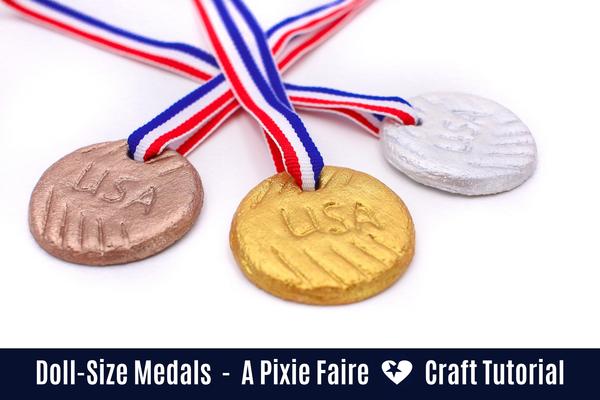
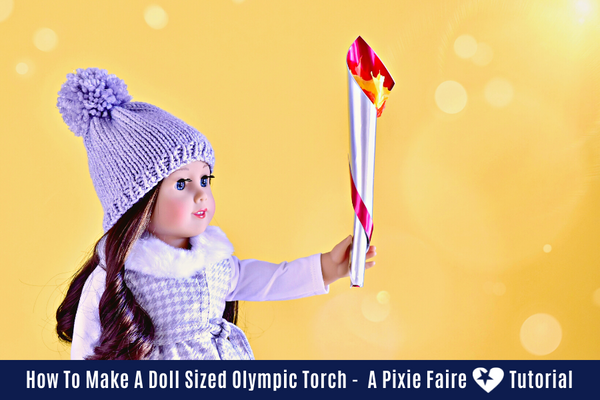 The Winter Olympics are upon us again, and if you’re like us, you’ve always wanted to be a part of it! Here is a quick craft that will make you feel like you are there, ready to witness all of the amazing things that happen at the Olympics. Follow along to make your doll her very own 2022 Olympic torch!!
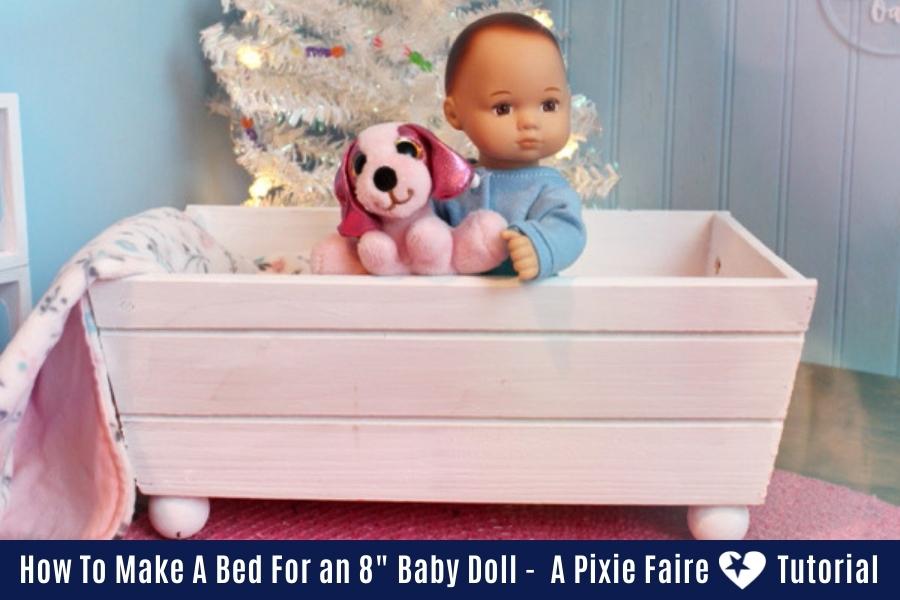
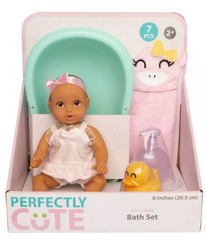
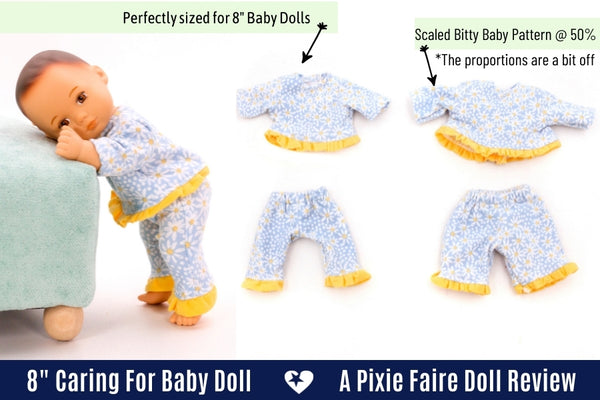
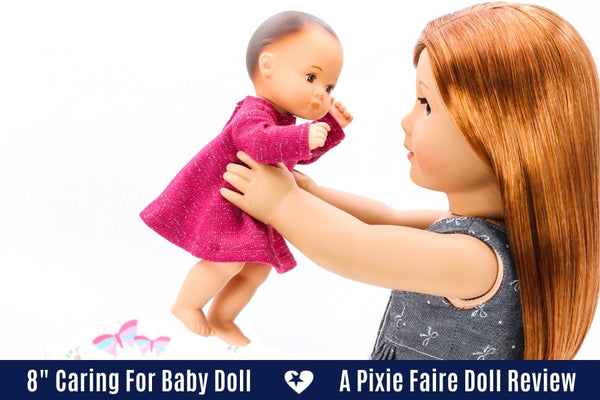
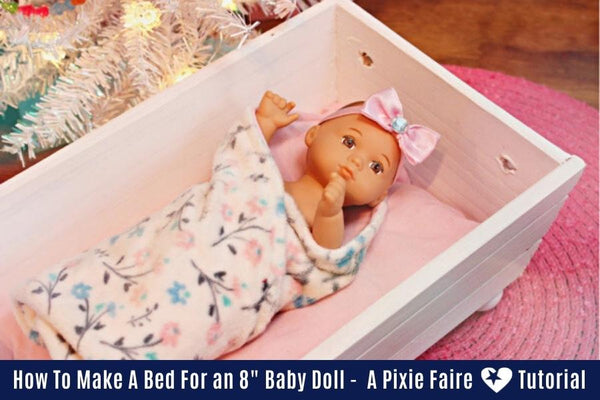 Do you have one of the tiny 8-inch baby dolls, such as the one from the Caring For Baby set from American Girl?


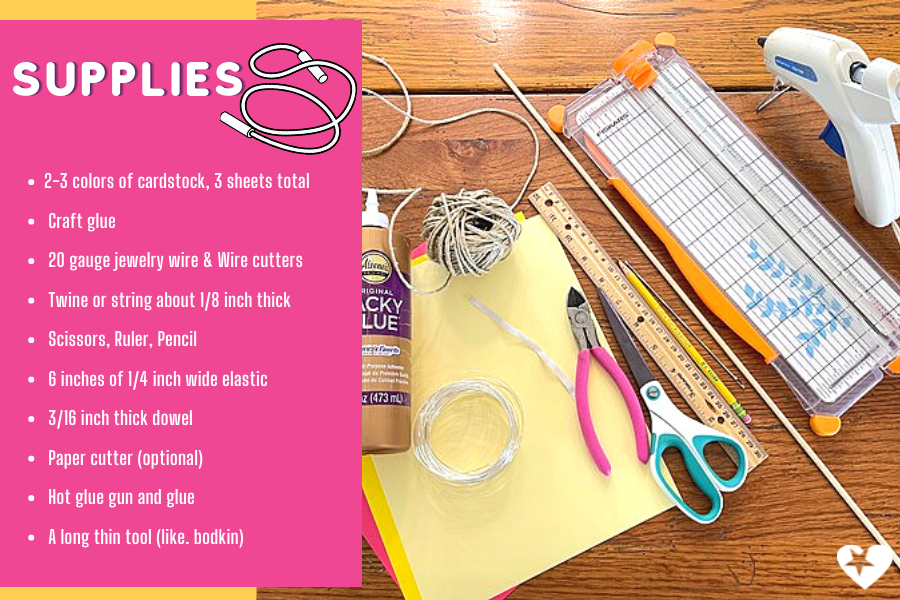
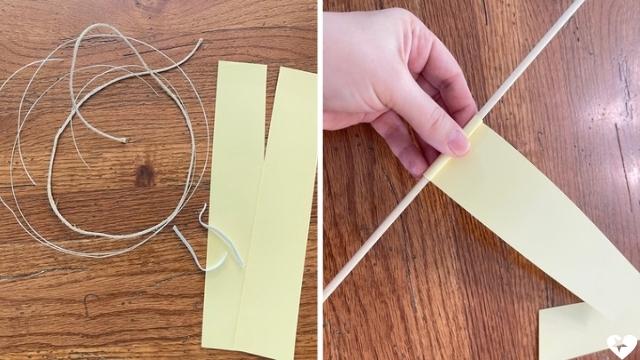
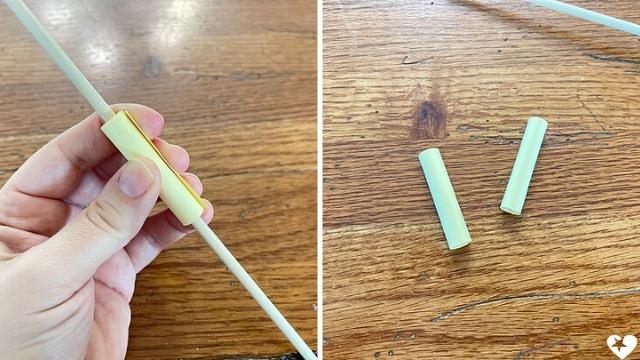
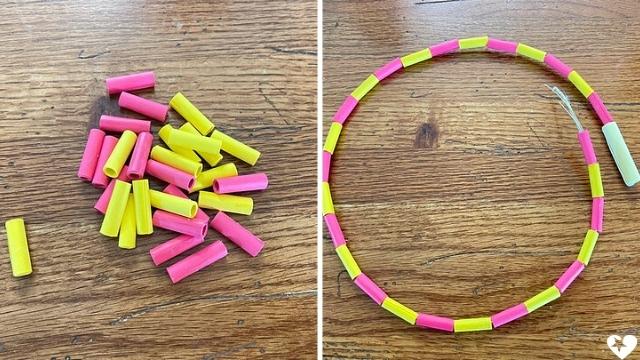
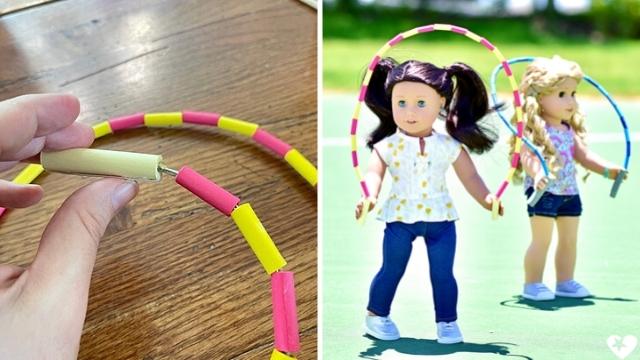
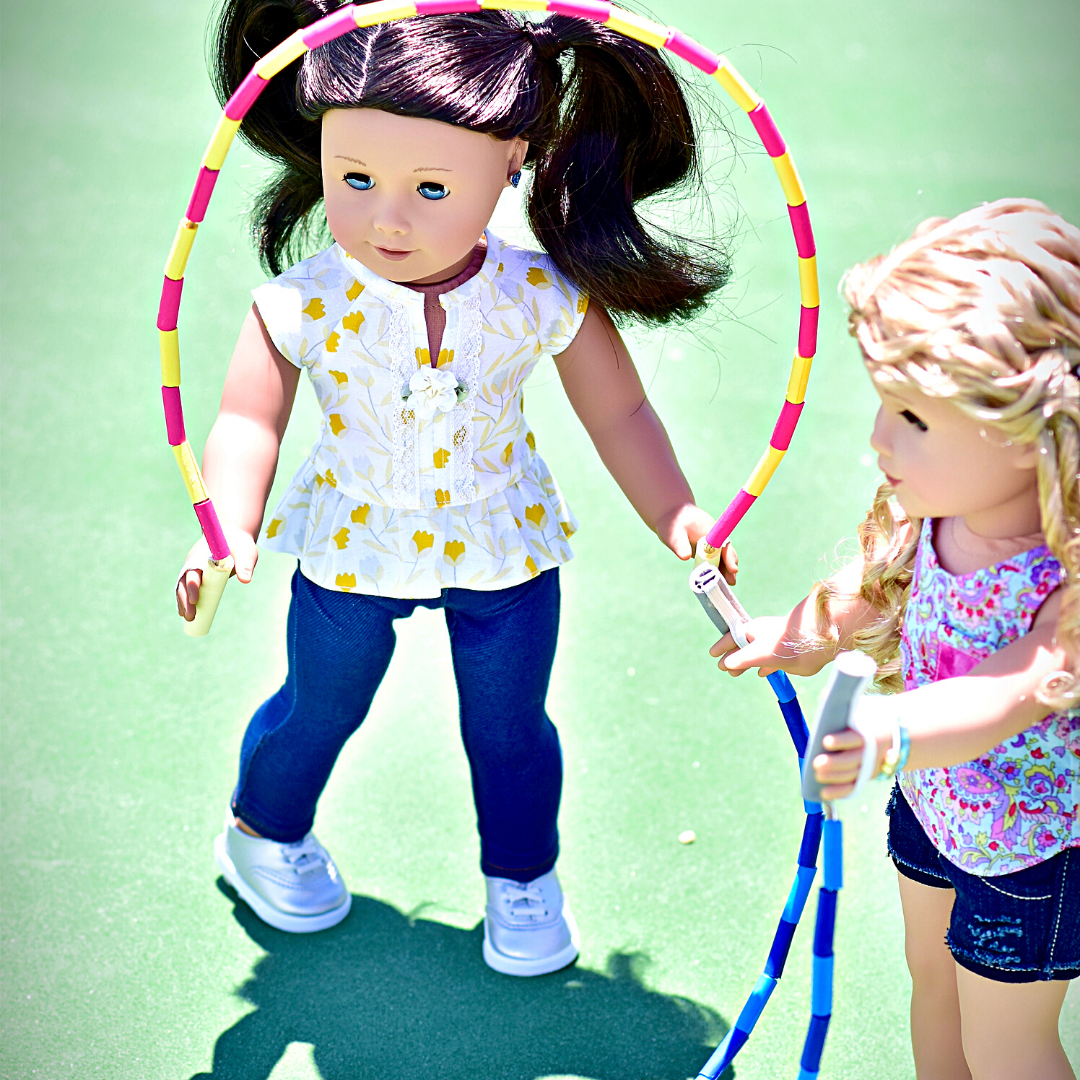
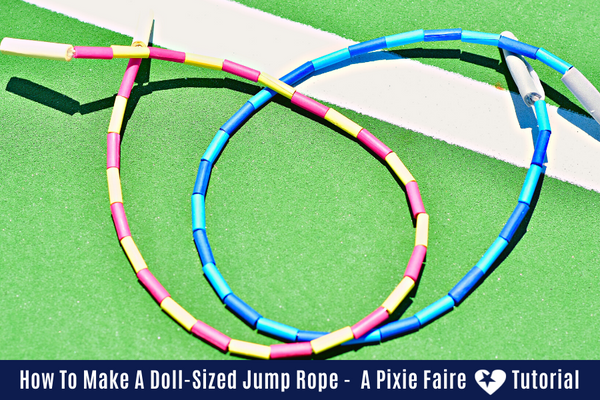 We can’t believe it’s a new year already! With a new year, comes new goals. For many, it's time to make fitness a priority and we'd love to get our dolls in on that action too! Fitness should be fun, right? One way to exercise and play at the same time is by jumping rope! It’s fun to do by yourself or with a group. So join along in this tutorial with us and make your doll a jump rope that can look like it’s really in action!
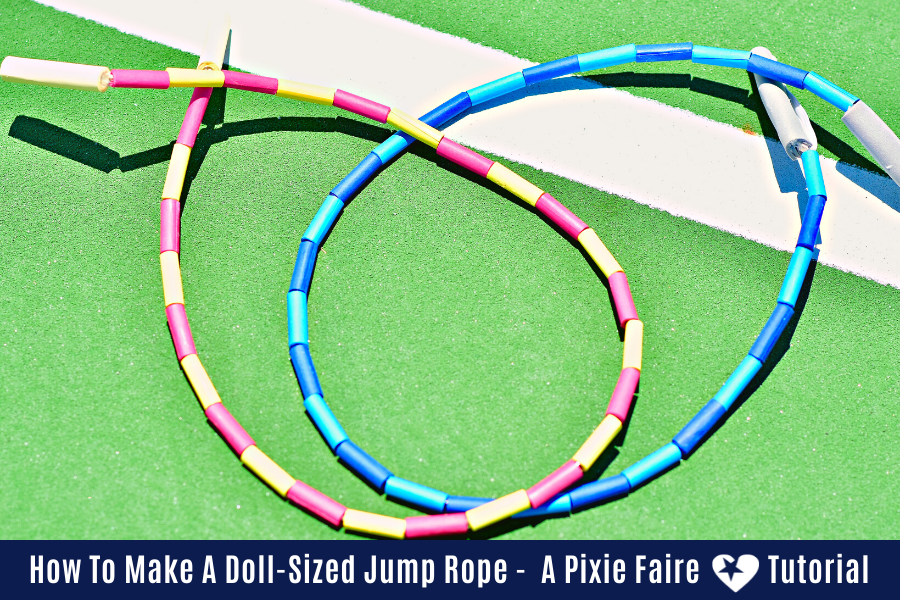


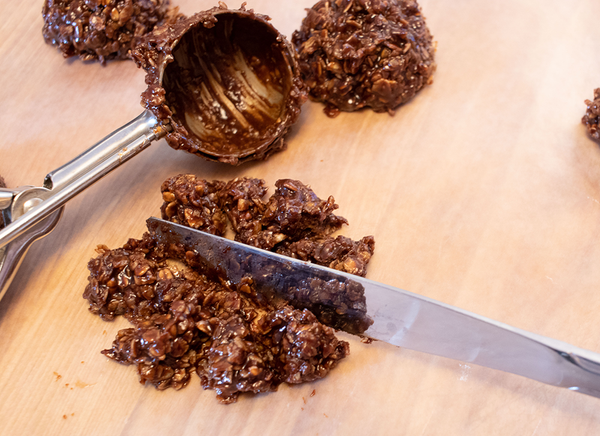
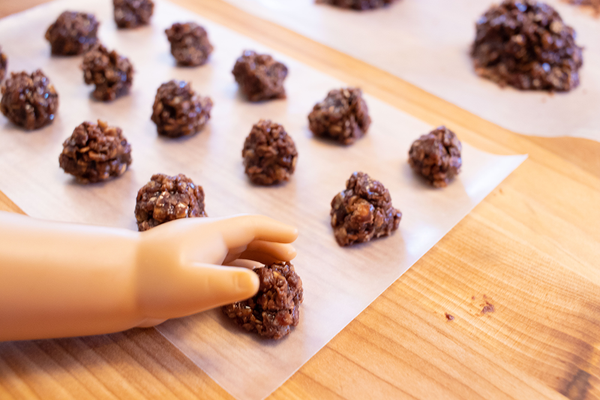
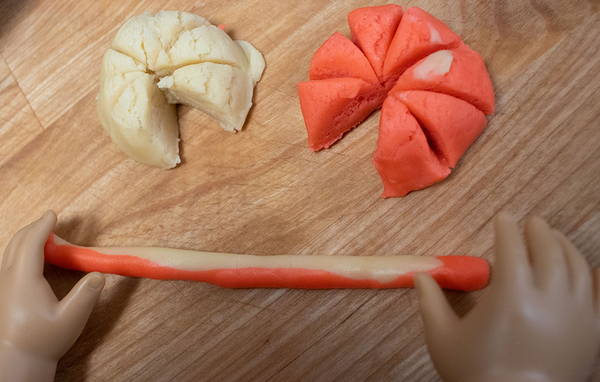
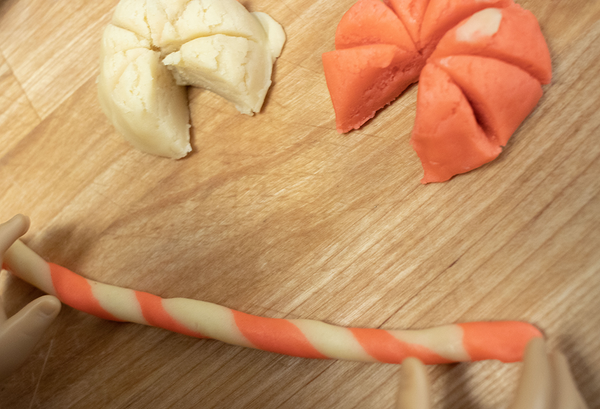
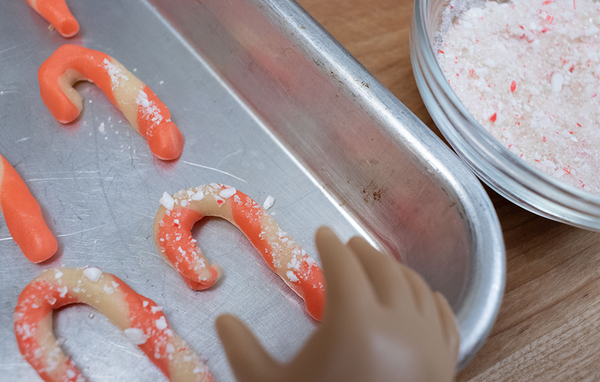
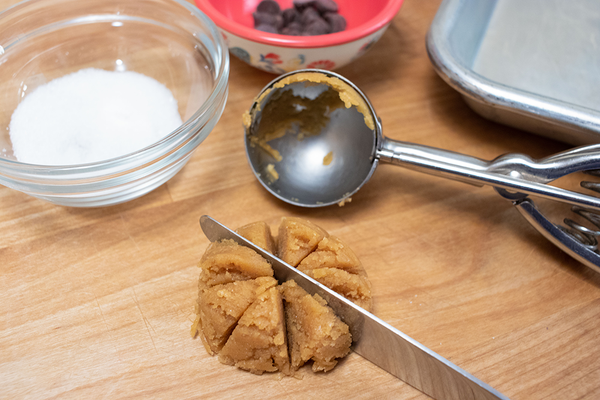
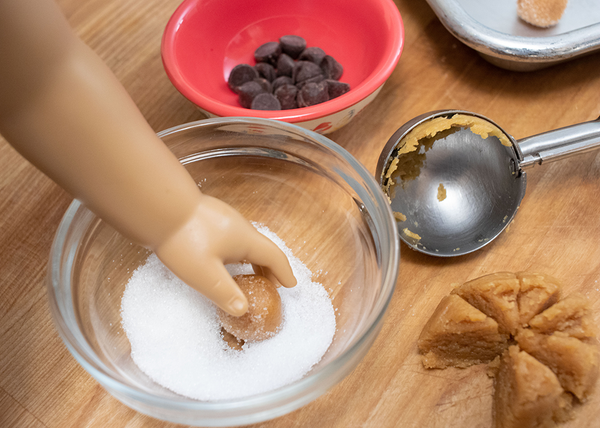
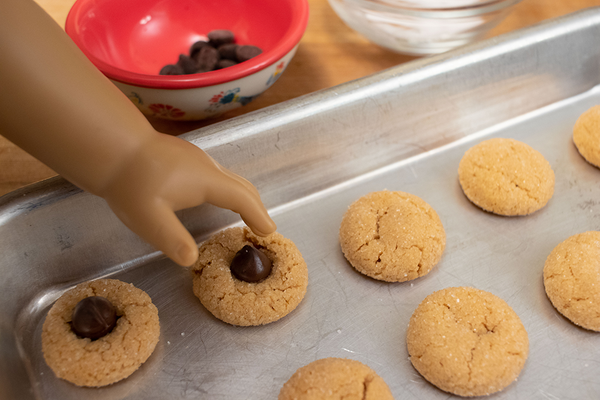
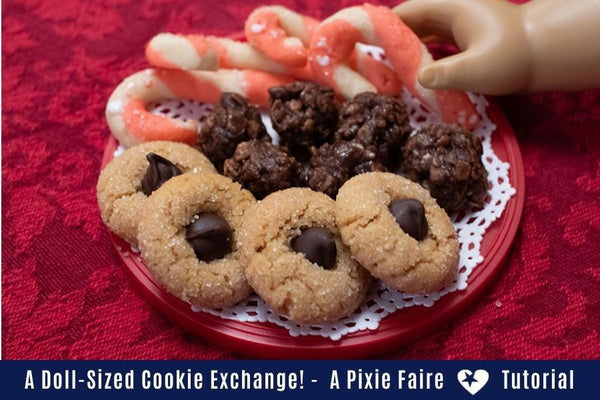 Check out this delicious post with Shari Fuller! She's sharing her favorite holiday cookie recipes with us! Yum!! Even better they are doll-sized which is just too cute!


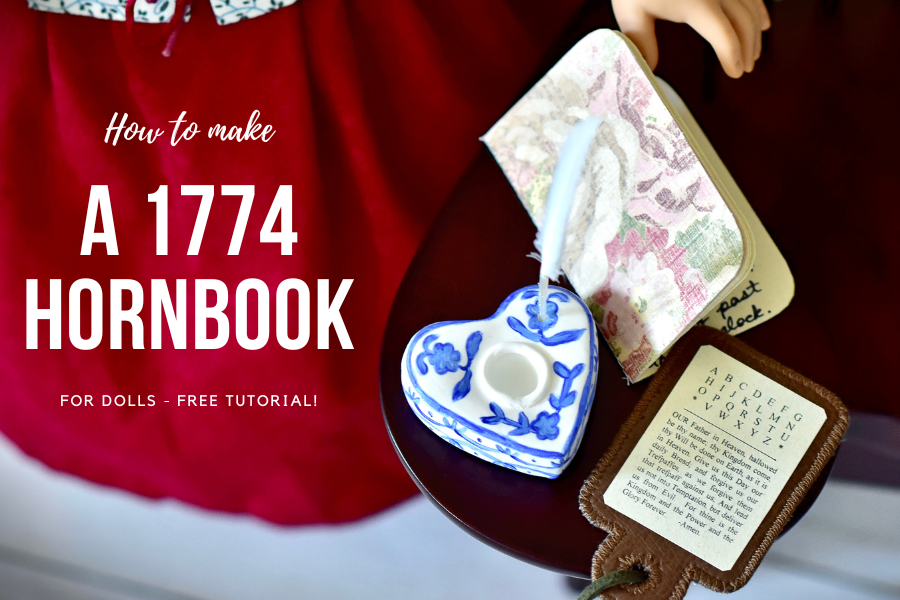
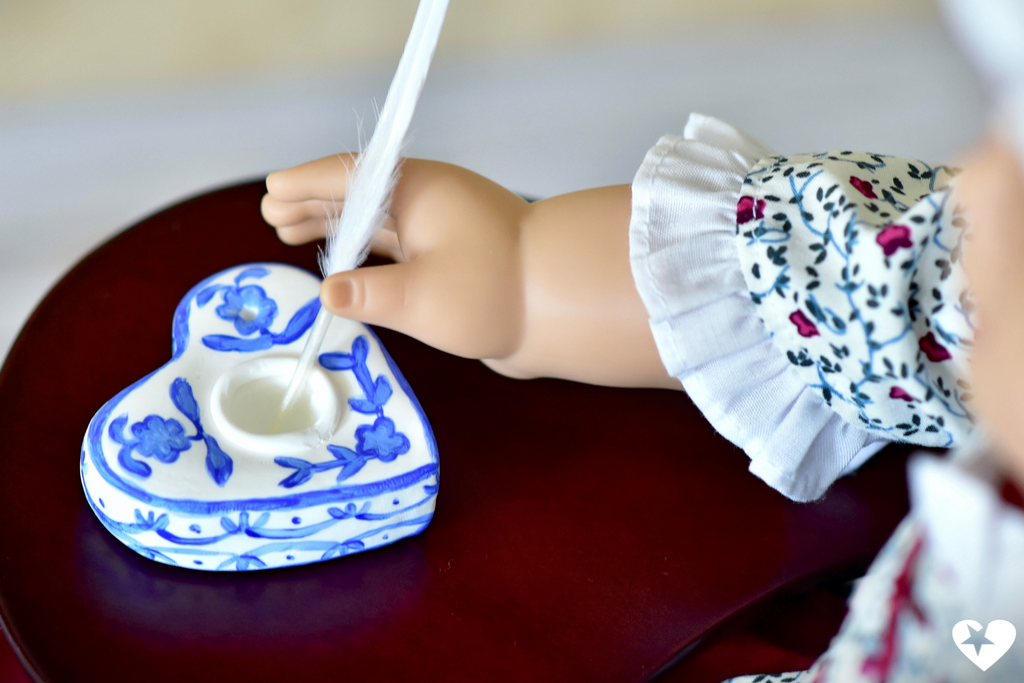
 Does your historical character doll love to write? Maybe she needs a new set of writing essentials! In this three-part tutorial series we'll show you how to make items for dolls such as Felicity Merriman, that she would have used in her reading and writing lessons all the way back in 1774!

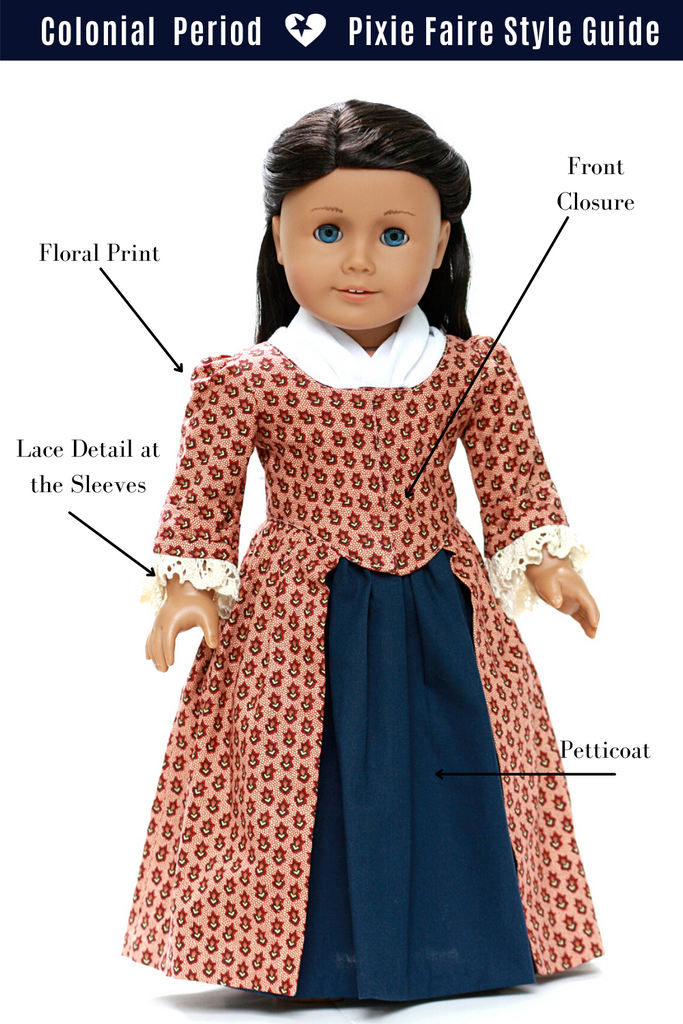
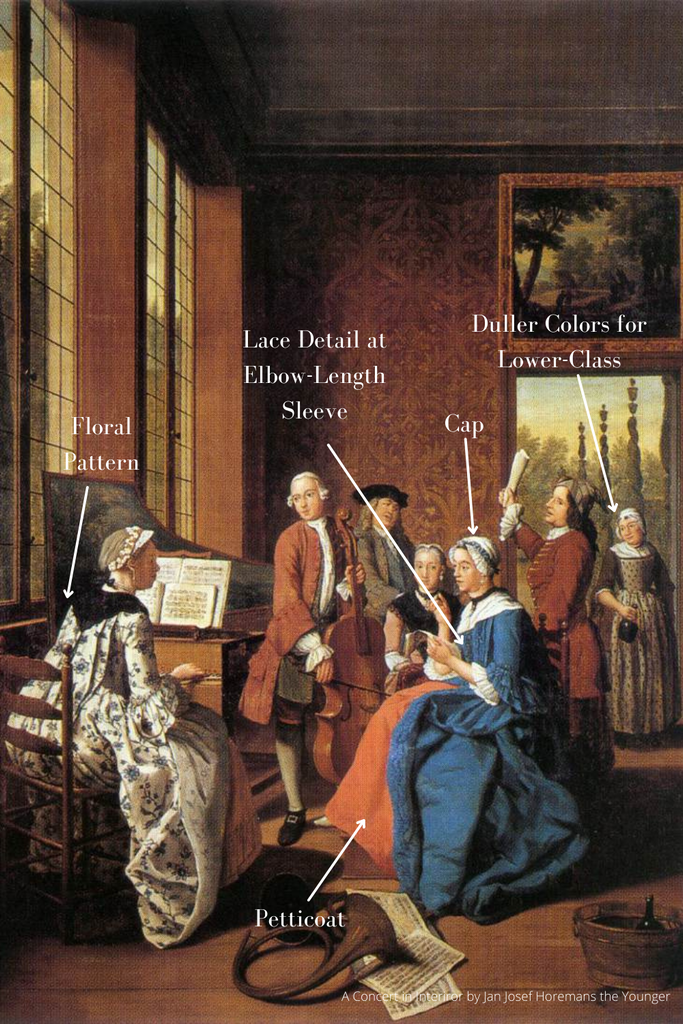
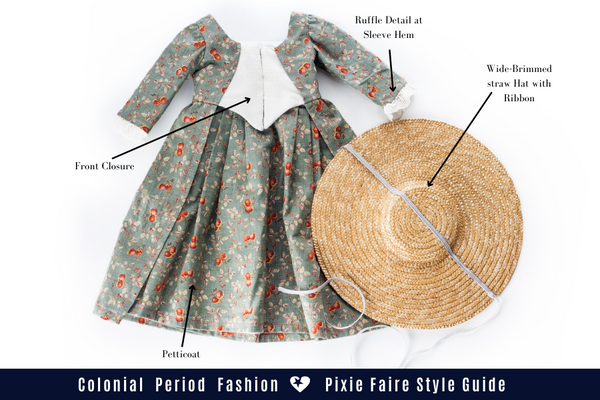
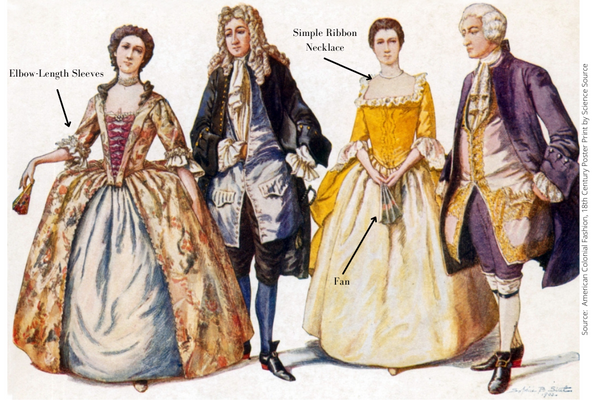
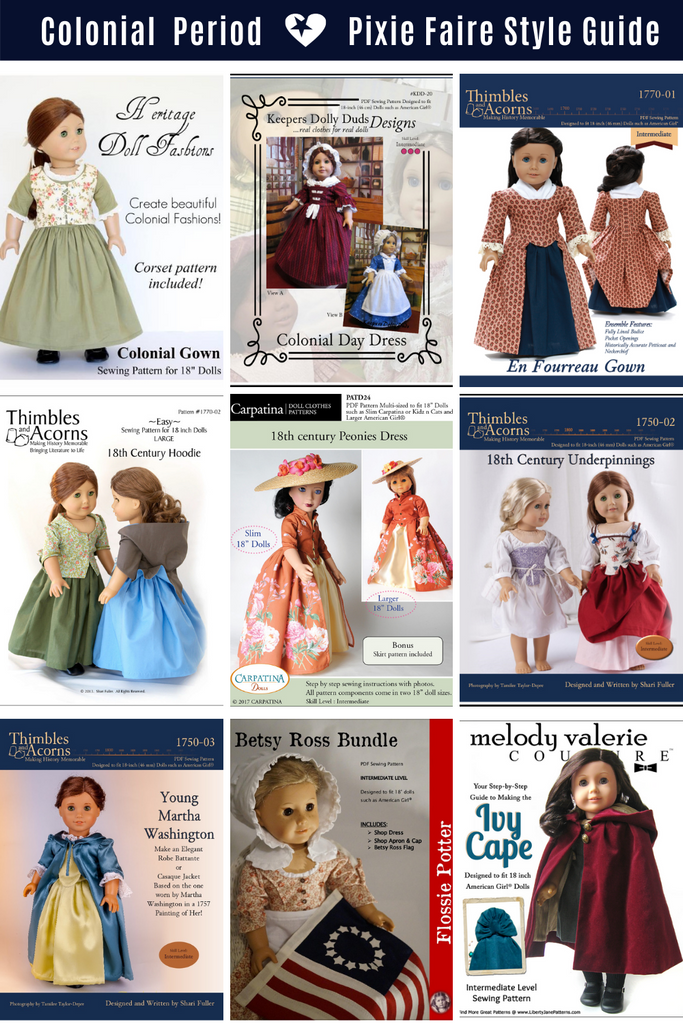
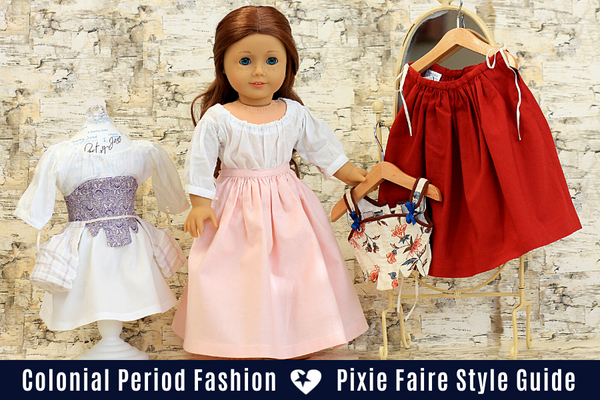 We’ve put together the ultimate guide to help you make a historically accurate late-eighteenth century look for your 18-inch doll, focusing specifically on the period between 1770-1790s.
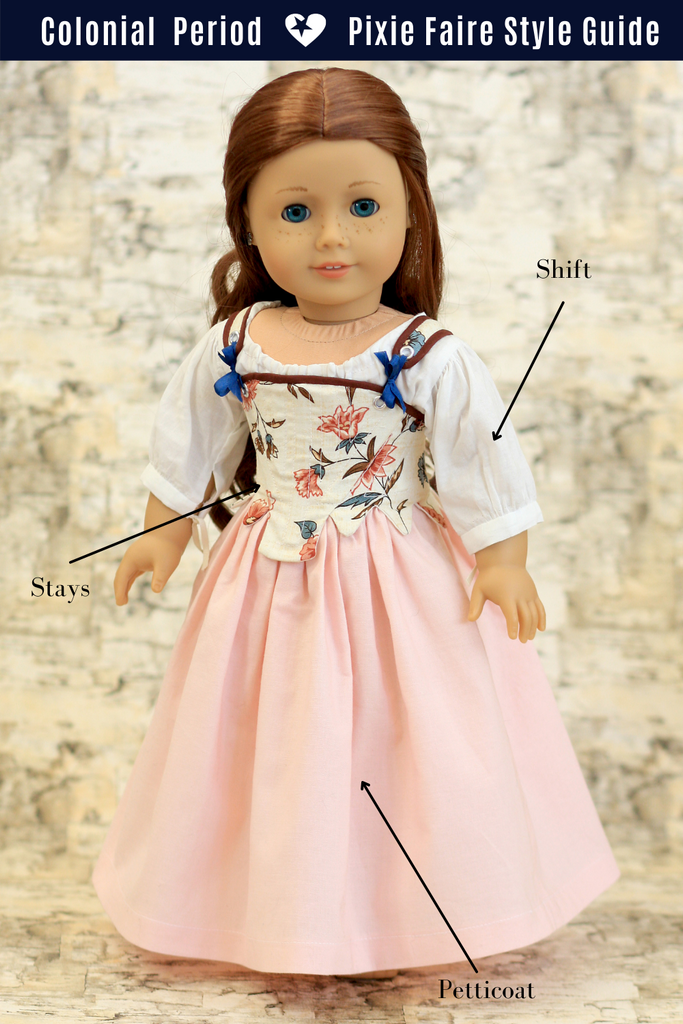
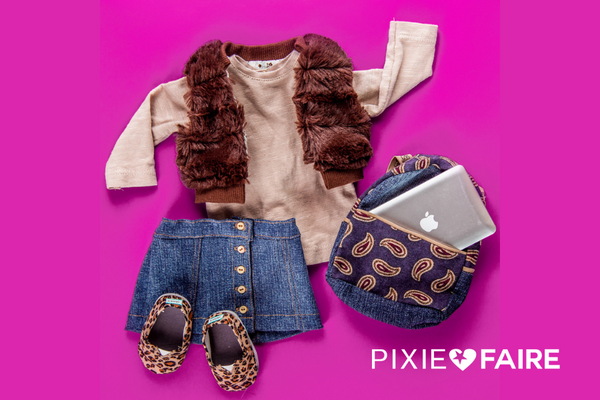
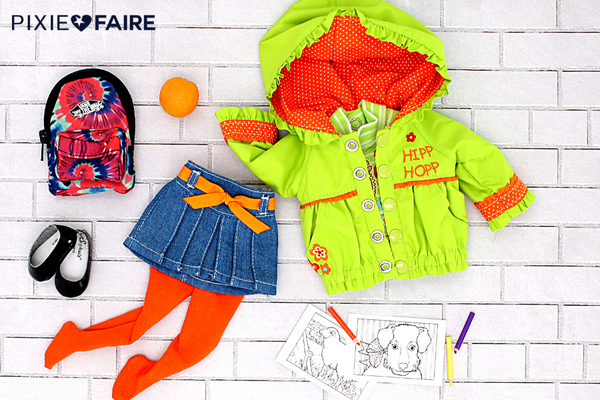
 Fall is here and along with it colder rainy days – what

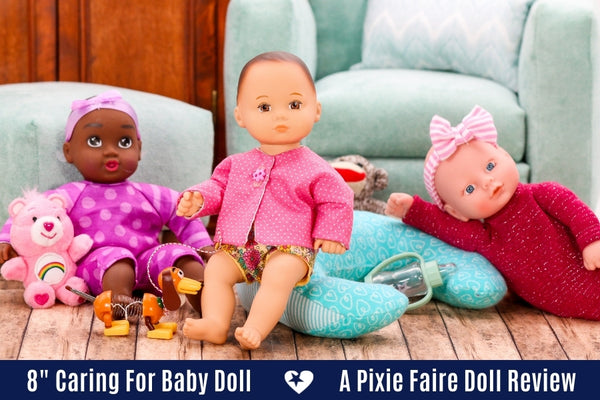
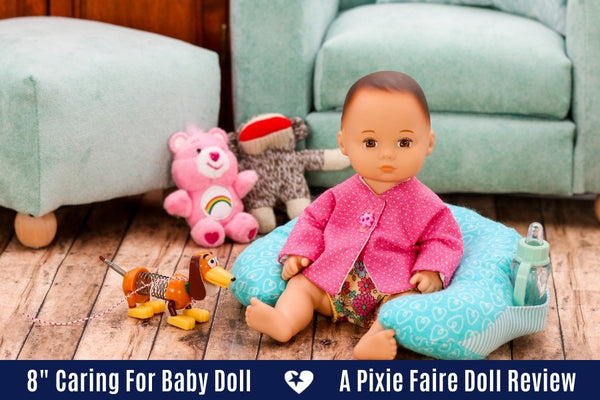
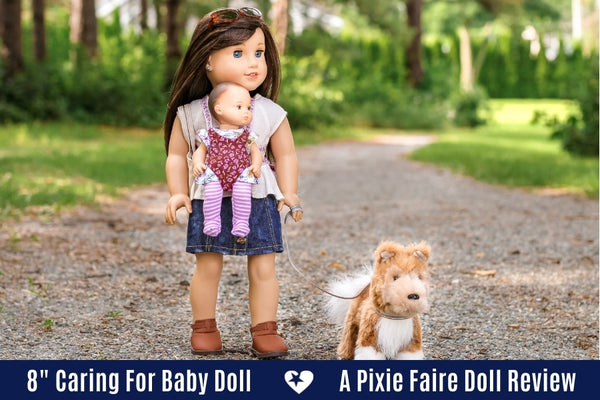
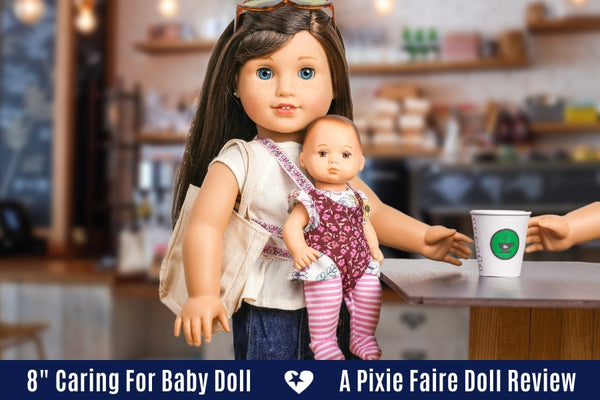 We’ve put together the ultimate resource guide for the 8-inch American Girl® baby doll. This doll was released as part of the Truly Me line, in an accessory set called Caring for Baby™ Set. Since its release, this mini baby doll has won the hearts of many American Girl
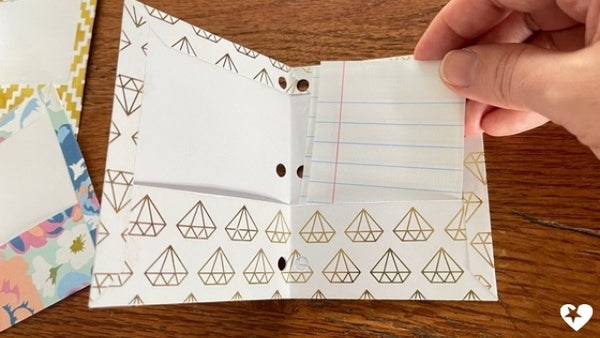
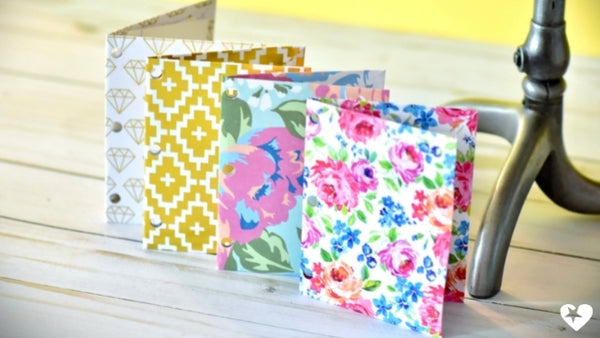
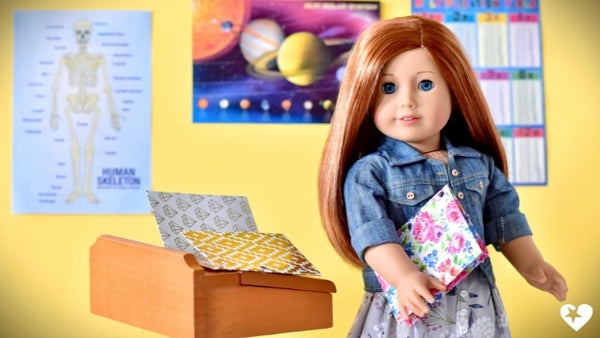
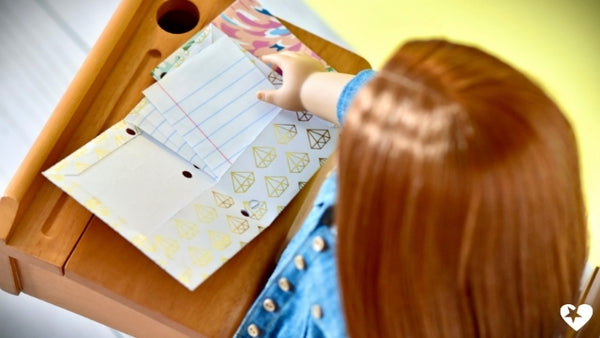
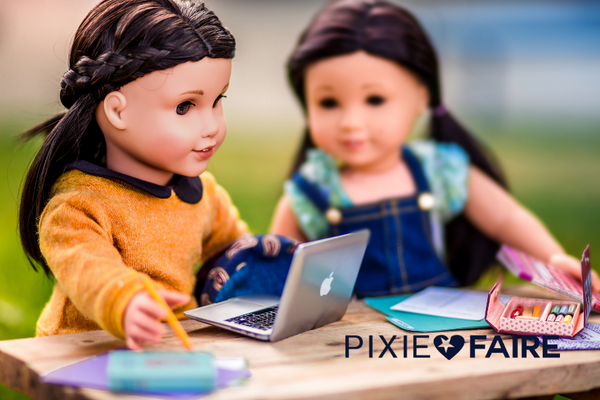
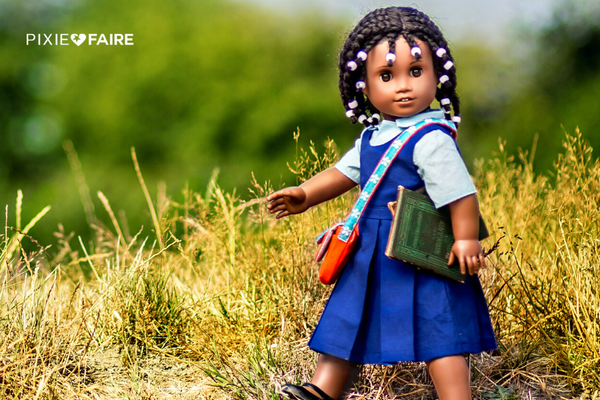
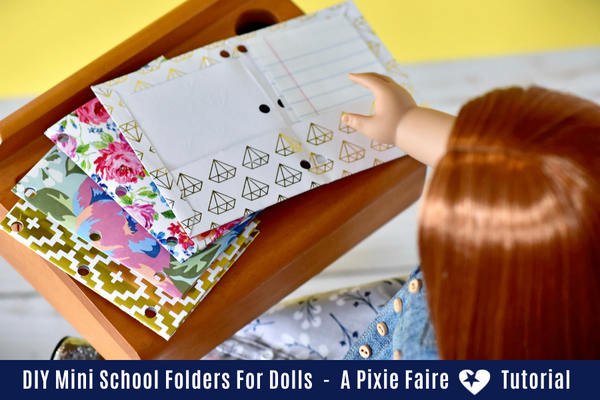 It’s that time of the year when all the stores have shelves and shelves of fun school supplies! All the colors, designs, and characters make it fun to shop and pick out a collection that you’ll love. Follow along with this easy tutorial to see how to make your dolls their very own curated collection of back to school folders, ready for the upcoming school year!
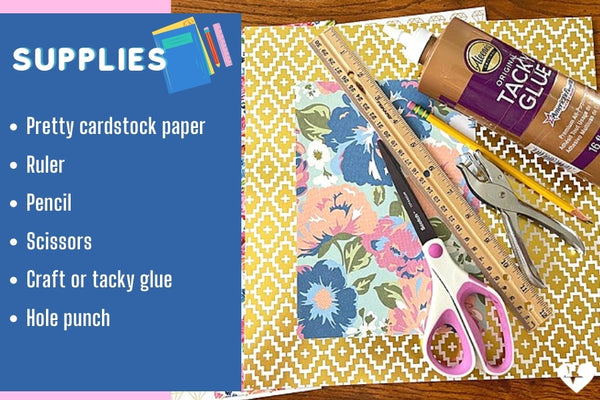

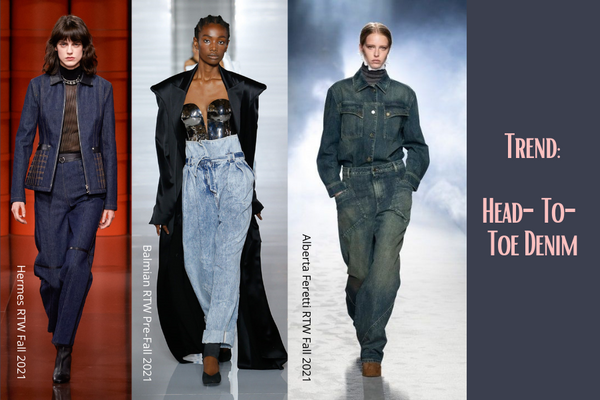
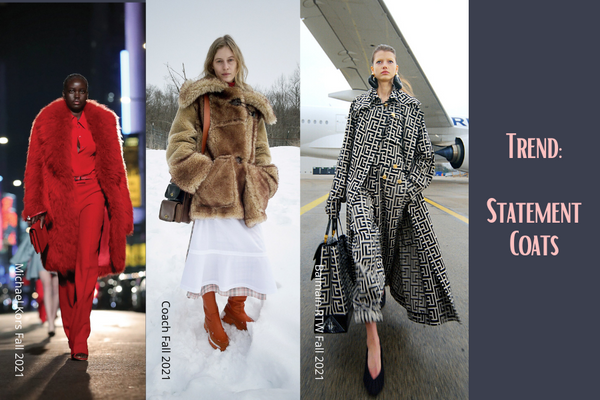
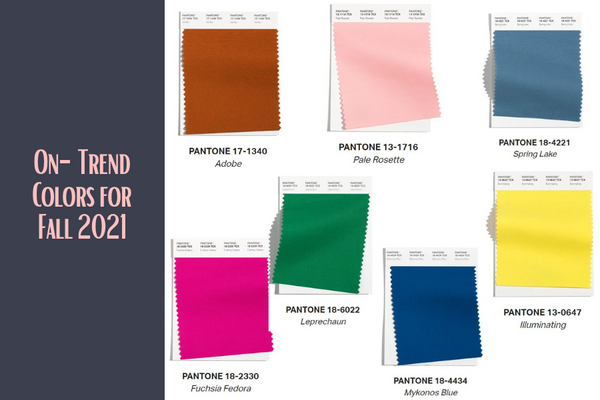
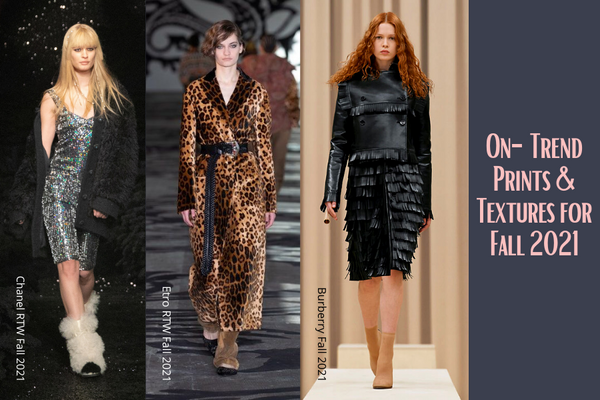
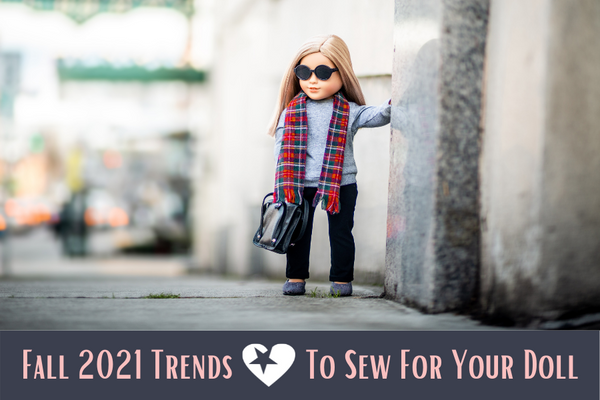 With fall 2021 right around the corner, we’ve rounded up some great fall patterns for you to work on for your doll!

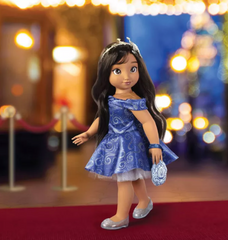
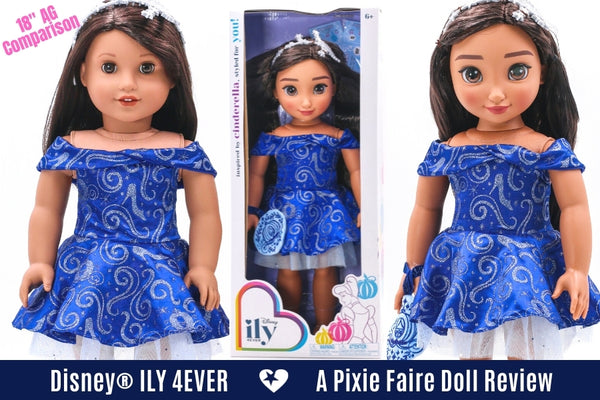 We’ve put together the Ultimate Resource Guide for the new
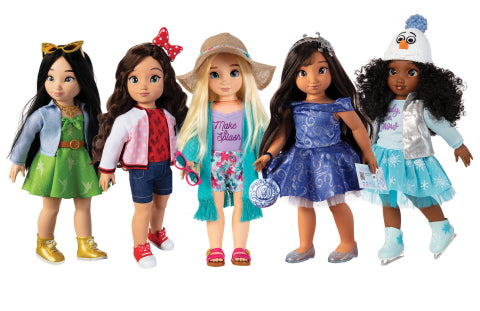
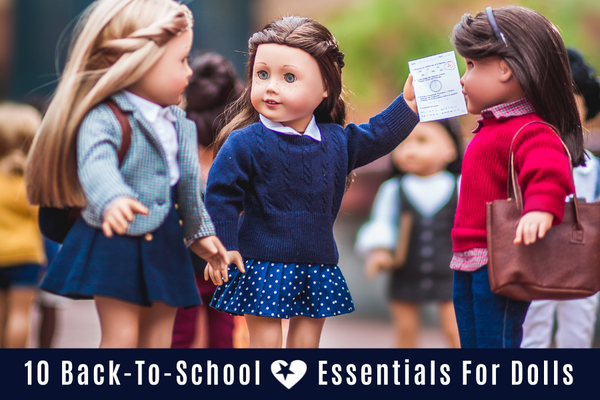 It’s nearly fall which means your doll will soon need all of those back-to-school essentials!
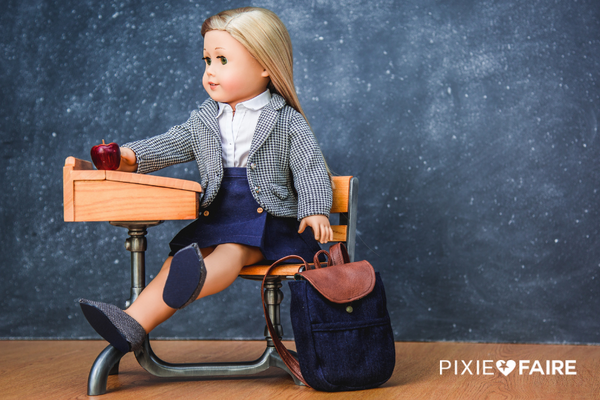
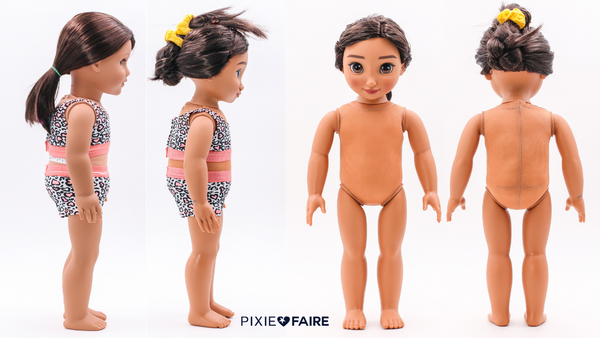
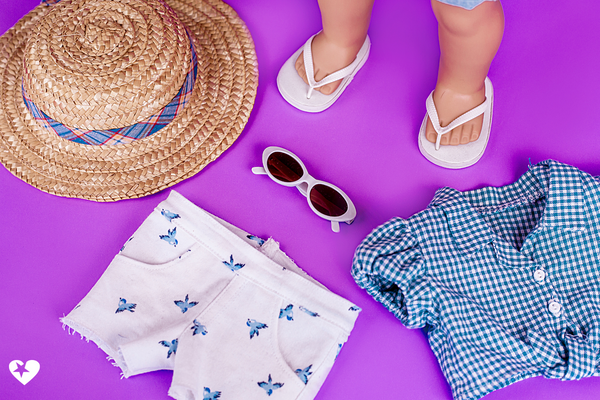
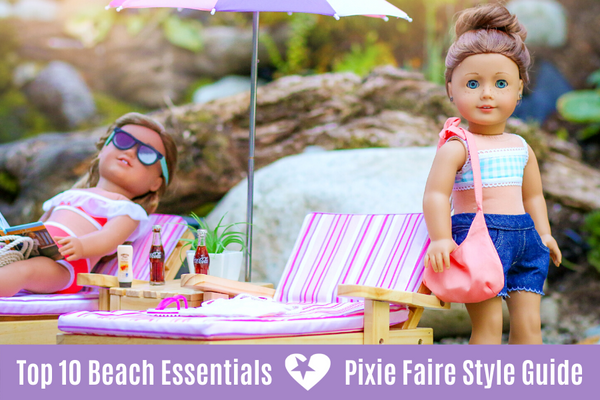
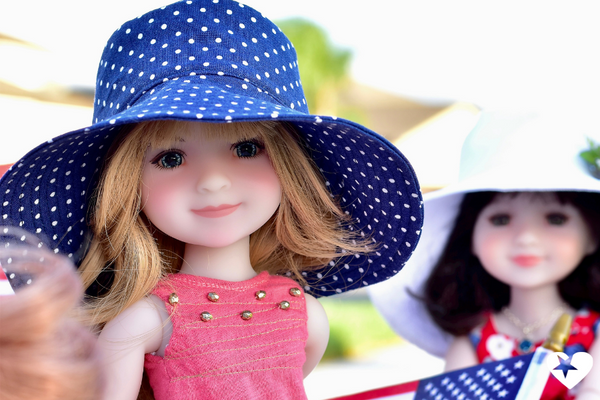
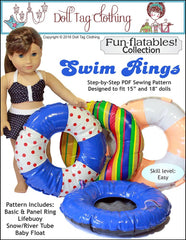
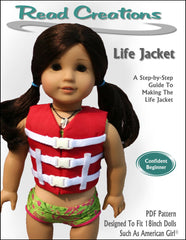
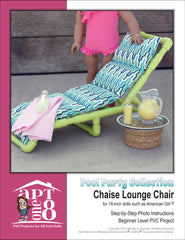
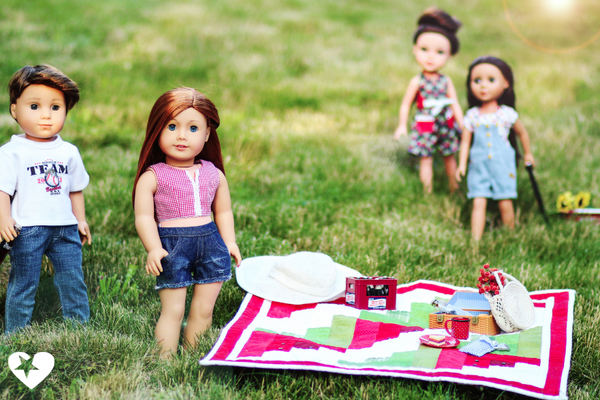
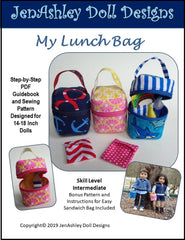
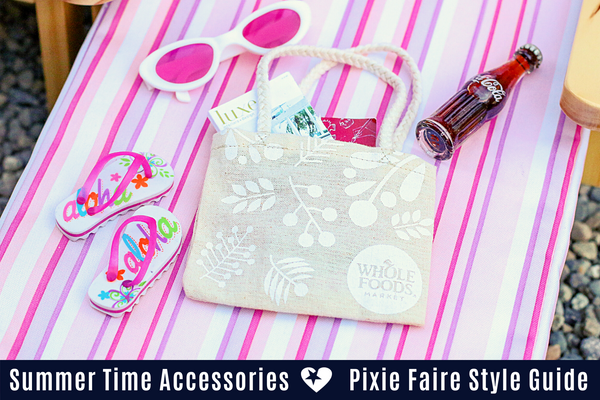 We’ve put together the ultimate resource guide to summer accessories for your doll!
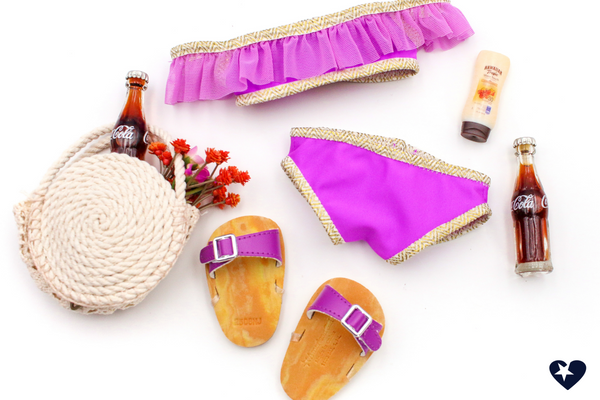


 The 2021 Olympics are here!
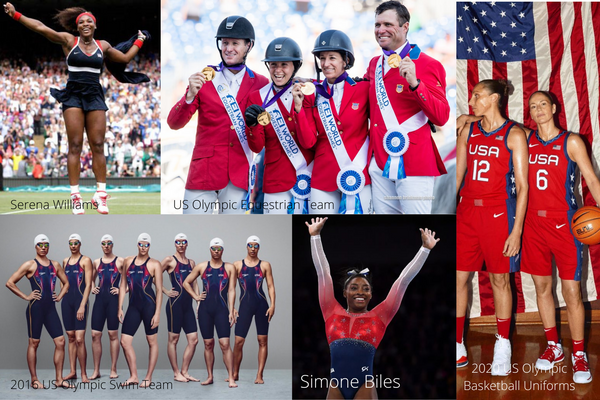
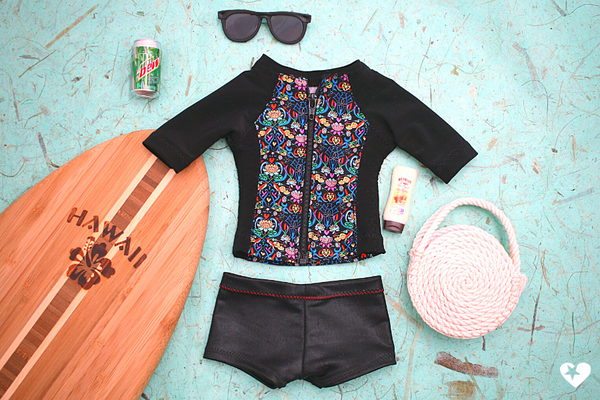
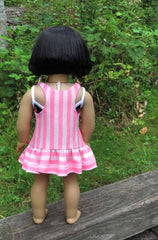
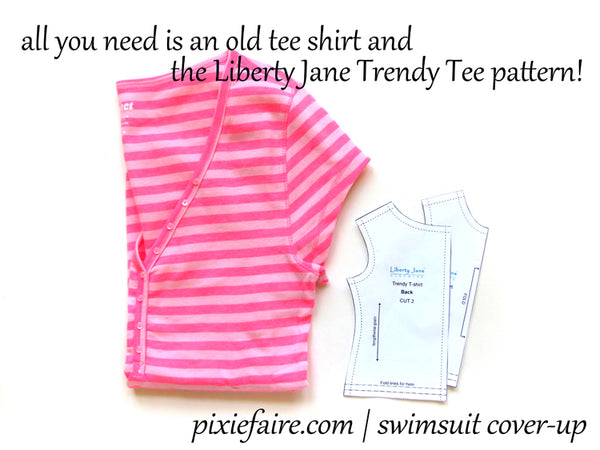
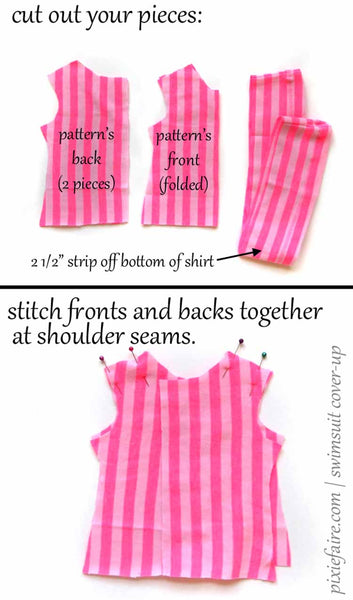
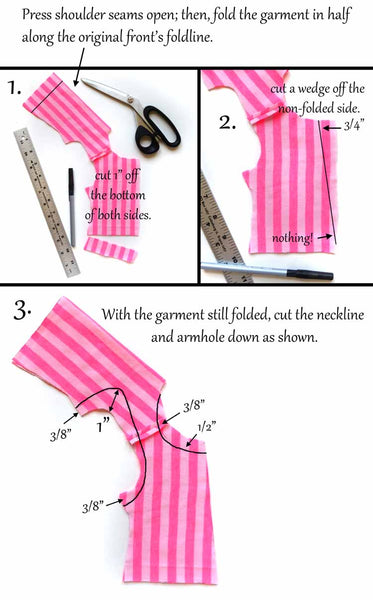
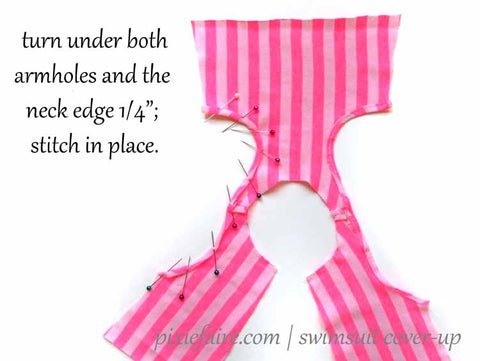
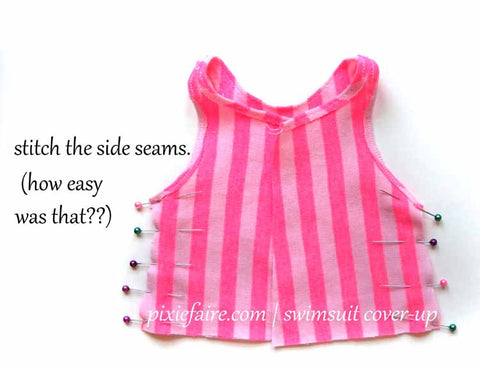
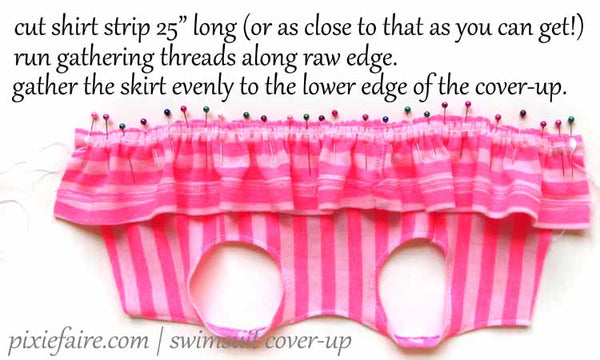
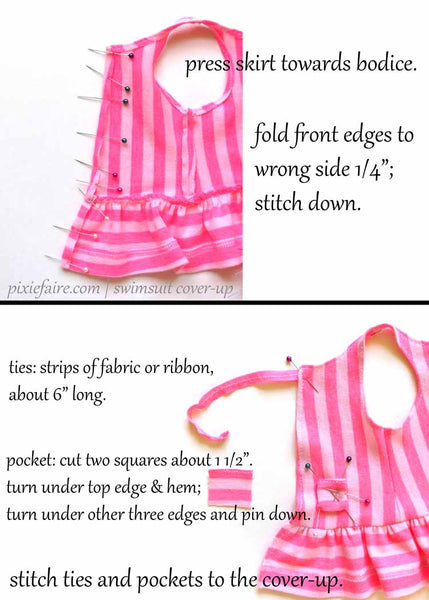
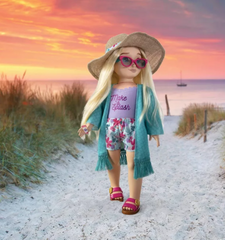
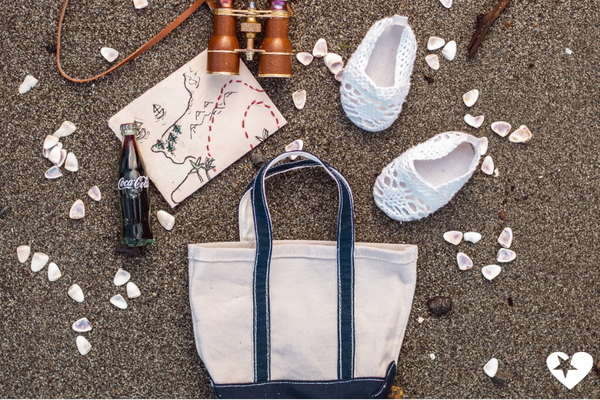
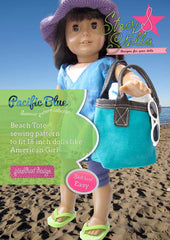
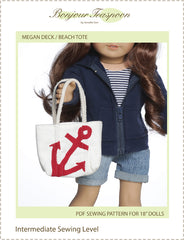
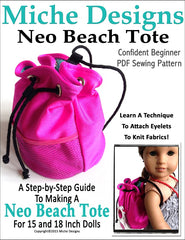
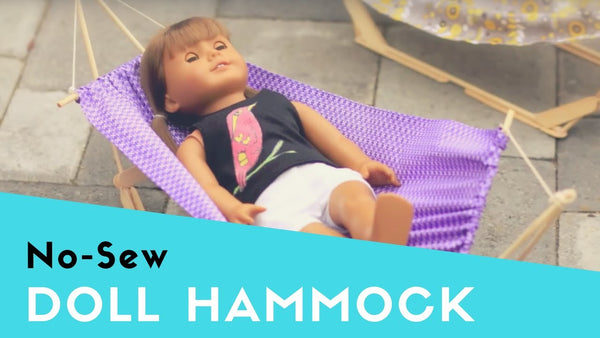
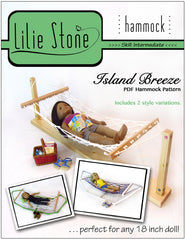
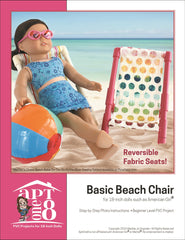
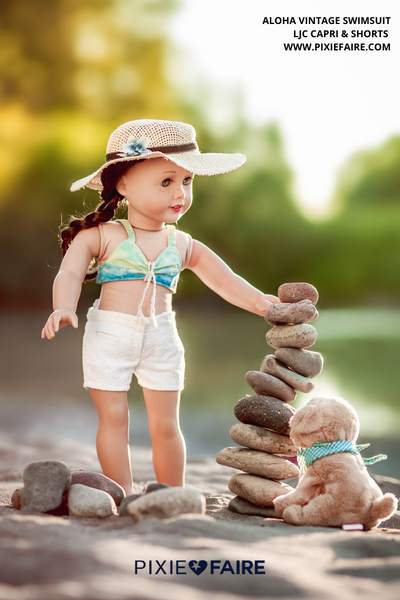
 Summertime is full of hot days, and there’s no better place to cool off than the beach!
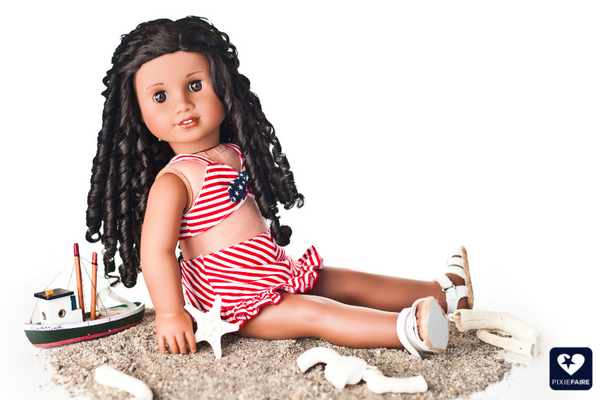


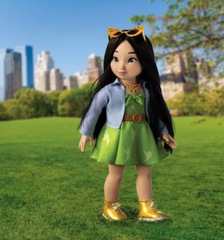
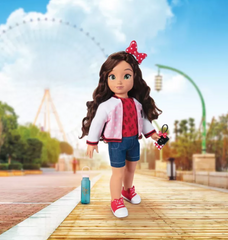
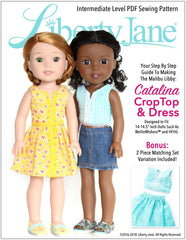
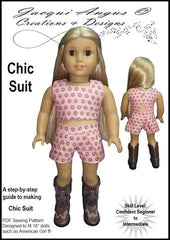
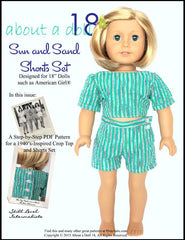
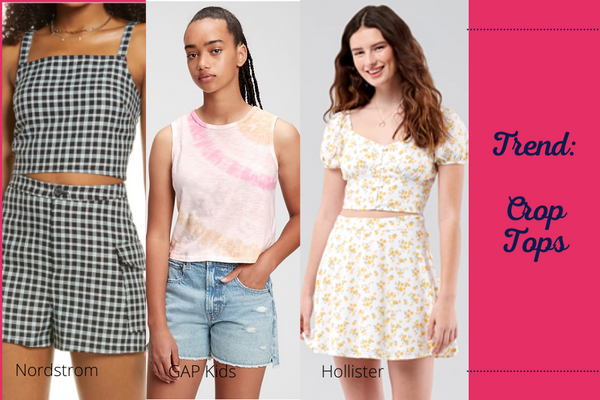
 Summer is already upon us, but we still have lots of warm weather ahead of us! If you're looking for some creative ideas and designs to inspire your next doll clothes summer outfit you're in the right place! Here are some great design ideas to update your dolls wardrobe!

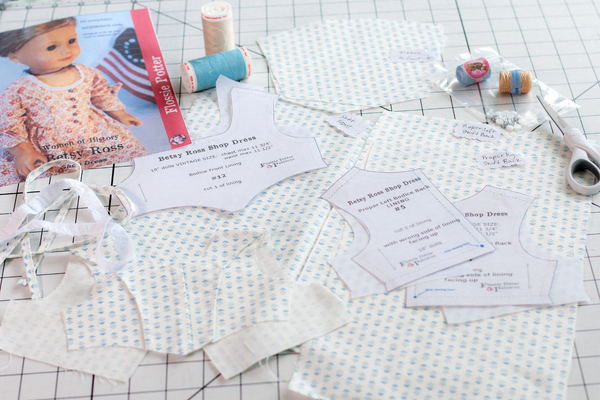
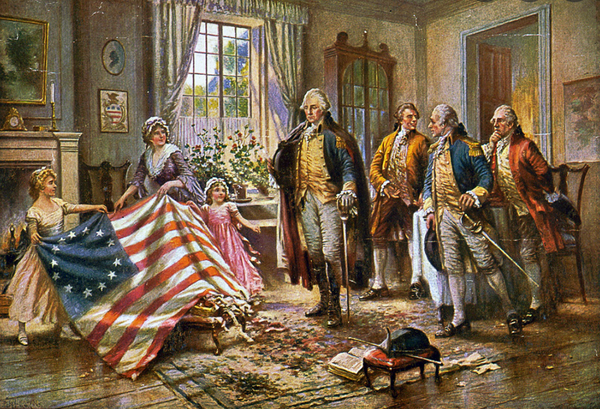
 I'm sure you're familiar with Betsy Ross, she is is best known for the stories she told her children about sewing the first American Flag. But what you might not know is that she was also an 18th century entrepreneur! Have we piqued your interest? Read on to hear the truly remarkable story of her establishing a successful upholstery business during a time when women were not usually at the forefront in the business world. And don't forget to enter the giveaway!