Do you have one of the tiny 8-inch baby dolls, such as the one from the Caring For Baby set from American Girl? Check out this crafty tutorial to make a darling little bed that's just the right size!]]>

Do you have one of the tiny 8-inch baby dolls, such as the one from the Caring For Baby set from American Girl? Check out this crafty tutorial to make a darling little bed that's just the right size!
Bonus! Enter to win a Caring For Baby Set. Scroll down to the bottom of the post to enter in the giveaway!
New to this doll? Be sure to check out our full 8-inch Caring For Baby Doll Review post HERE.
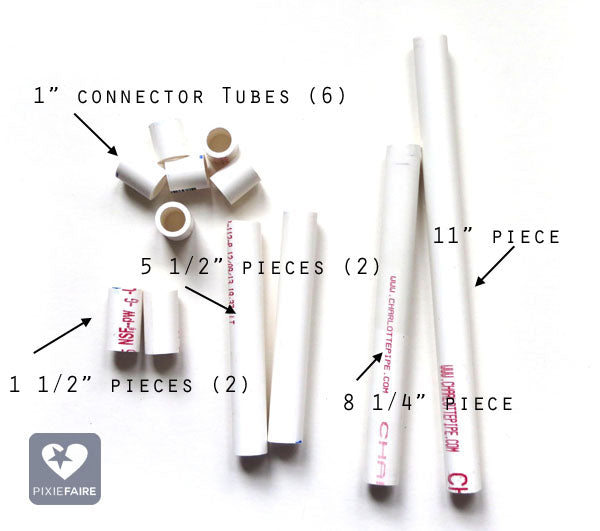
Follow along in this tutorial where we show you how to turn a little wooden box, found at Hobby Lobby, into a little bed for our doll. If you are unable to find the same box that we used, you can take your tiny doll with you to the craft store and find something similar. We've will also included the dimensions to the box we used, as well as the online links. We've also included a quick tutorial showing you how to make bedding and a no-sew version too! Let’s get crafting!

What you need for both versions:
For sewn version:
For no-sew version:

Step 1: Assembling the bed
If you are using the same box that we found, start by removing the handles. Now it’s time to glue the beads to the bottom of the bed. Once the glue is dried, you can paint your bed! It's that simple!

Step 2: Sewn Blanket
Let’s make the blanket now! Cut out two squares of fabric 12 x 12 inches. We used a minky fabric on one side and cotton on the other side. Use something small and round as a template to trim the corners into a rounded shape. We chose to use a spool of ribbon about 3in in diameter as a template. Now pin the two pieces right sides together and sew all the way around, leaving a 2-3 inch opening to turn the blanket right side out. Once you have the blanket turned, top stitch around the entire edge of the blanket, making sure you neatly catch the raw edges of the opening inside the blanket.
Alternate: No-sew Blanket
Cut one 12 x 12in square out of a fabric that doesn’t fray easily. Trim the corners like the blanket in step 2. That’s all there is to it!

Step 3: Sewn Mattress
Cut out 2 rectangles (11 x 7 inch for a box like ours, but for any other box, adding an extra inch or so of fabric around the edges from the box’s measurements should be good. If it is too big, you can always trim the edges and resew to make it smaller). Sew the rectangles right sides together, leaving a 2 inch space to turn it right side out. Once it’s turned, back-stitch two little X’s in two places on the mattress. Add stuffing until it fits perfectly into your bed. Sew up the opening.

Step 5: (Alternate) No-sew Mattress
Cut 6 layers of felt to fit inside your bed. Cut a piece of fabric two inches longer and two inches wider than the felt rectangle. Wrap the felt with the fabric and hot glue in place.
Now get your baby doll and tuck her in!
Looking for a cute dress for your 8-inch baby doll? The Sweet & Simple Dress is darling and very easy to sew! Find it and a variety of other clothing pattern that are designed to fit the Carling For Baby doll in the Collection on larougetdelisle!

We'd love to see your creations too, so if you make one, please tag us on Instagram @PixieFaire
You can also share pictures in the larougetdelisle Inspritation Gallery right here on the website, either use the #pixiefaire when posting on IG, or just click the little + box to upload your picture right here on the website!
Thanks everyone!
For larougetdelisle, @graceloves2bake
ENTER TO WIN A Caring For Baby set (from the American Girl website)!
To enter this week's contest, simply click the link below and then enter through the giveaway widget at the bottom of the blog post, there are many things you can do to earn multiple entry points!
Contest Details: You enter through the entry form that is embedded on this page and appears just below this paragraph, if you don't see it, be sure to visit the page from your desktop or an alternate browser such as Google Chrome. It may not appear on all mobile devices. The complete rules and entry details appear on the entry form. This is not a comment contest - in other words, leaving a comment on the bottom of this page is not an official entry method. The only required entry method is to leave a comment under this post and then confirm that you did it in the contest widget. One person will receive the prize. You can enter once, or gain multiple entries by completing the other entry methods and increase your chances of winning. Please review all Terms and Conditions on the giveaway page before entering. While we wish we could run this contest everywhere, for legal reasons it is only open to eligible residents of the U.S. and Canada, not including Rhode Island. This contest is exclusively endorsed by Liberty Jane Clothing and larougetdelisle.
a Rafflecopter giveaway
Commenting below and confirming your entry in the widget above gives you one entry method, the other methods are listed in the widget above, be sure to enter in as many ways as you can to receive the maximum amount of entries to win the gift card!
(This post and giveaway are not endorsed or affiliated with American Girl®, no endorsement implied.)
We’d love to hear from you. Please leave a comment and tell us, If you were to bring this baby home, what would you name it?
]]>
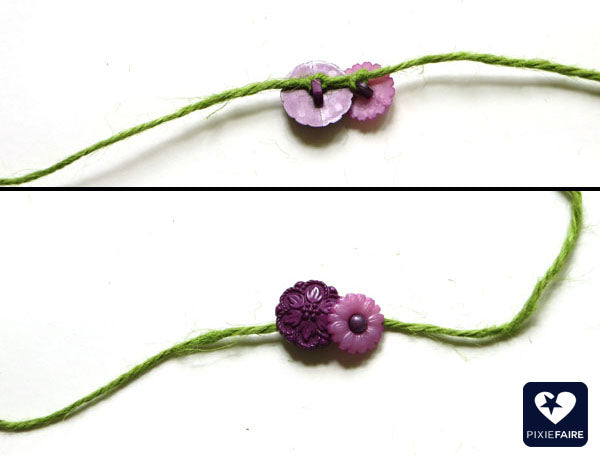
 We can’t believe it’s a new year already! With a new year, comes new goals. For many, it's time to make fitness a priority and we'd love to get our dolls in on that action too! Fitness should be fun, right? One way to exercise and play at the same time is by jumping rope! It’s fun to do by yourself or with a group. So join along in this tutorial with us and make your doll a jump rope that can look like it’s really in action!


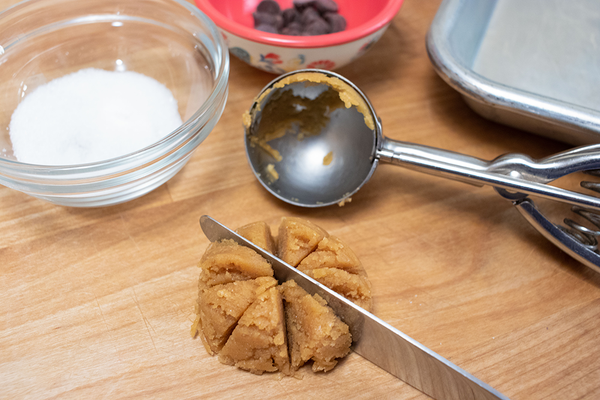
 Check out this delicious post with Shari Fuller! She's sharing her favorite holiday cookie recipes with us! Yum!! Even better they are doll-sized which is just too cute!


 Fall is here and along with it colder rainy days – what


 Hi Everyone! Check our this amazing fun and crafty tutorial!


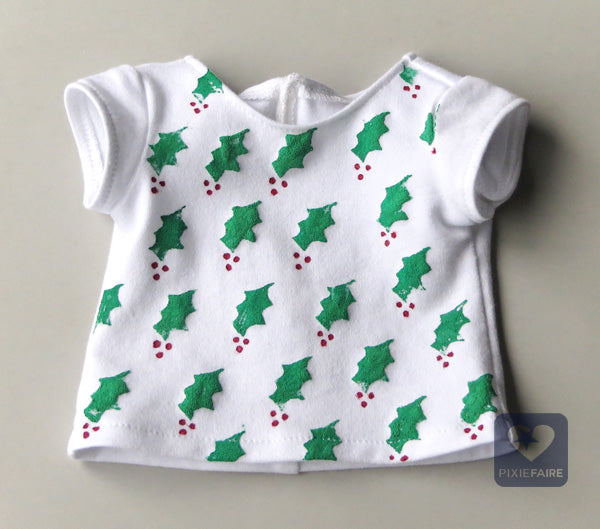
 This St. Patrick's Day no-sew craft is just for fun, but totally over the top! After we made a shamrock shirt for our dolls


 Finding something green to wear for St. Patrick’s Day was always a challenge for me growing up - I just didn’t have a lot of green in my wardrobe. My dolls suffer the same plight, so I decided this year to make something they could totally rock on St. Patty’s Day! You can do this craft for any size doll, with any size shamrock, multiple shamrocks, or any other shape or design!


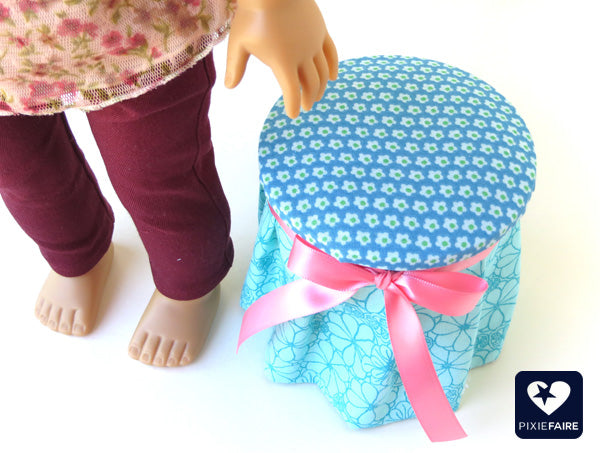
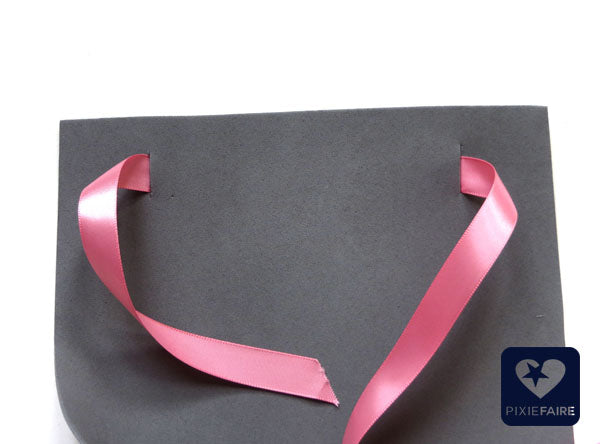
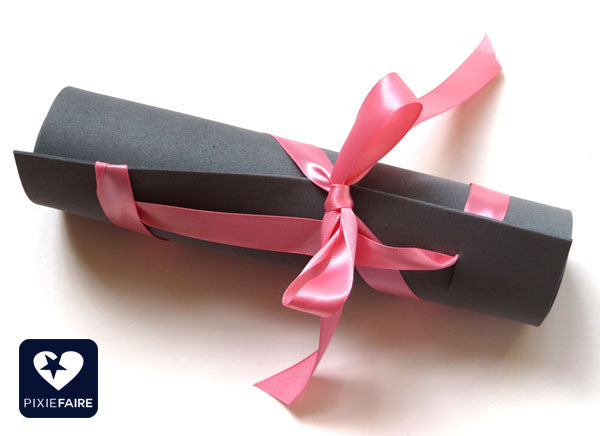
 Looking for a fun and easy way to add something special to your doll room decorating? I find that I have a lot of things to use as furniture for my dolls, but not a lot of things to use as wall decorations. This is a fun and easy craft you can do to decorate your dolls’ walls, or just to have for parties! I made these with a Valentine’s theme, but they’d do well for so many holidays and occasions. Will you make some with me?


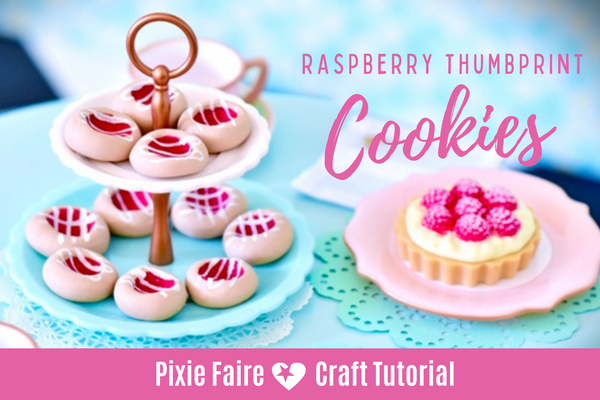 One of my most favorite cookie recipes is Raspberry Thumbprint Cookies. They are a simple flour cookie with a yummy raspberry center. I’ve never seen anything quite like them offered by doll companies, so I decided to make my own! Follow along to make your own doll cookies too!


 Do you light sparklers at New Year’s? Let's ring in 2021 with some extra bling with some doll-sized sparklers! They are great for your New Year’s Eve party, but later they can be used for the Fourth of July, birthday parties, doll weddings, or any special occasion. They are also easy to customize to your favorite doll’s scale! Follow along as we show you how to make them.


 Looking for a fun craft to make for your doll this summer?
  Looking for a fun craft to make for your doll this summer? These easy-to-make doll-sized Olympic medals can be made with common household items.


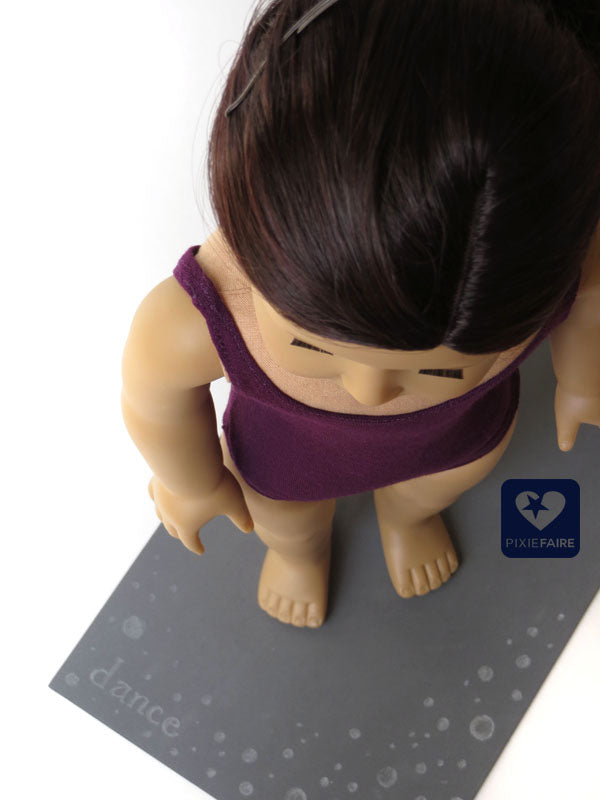
 We've put together the ultimate resource guide for making beautiful ballet outfits for dolls, plus a free doll sized tutu tutorial for both 18-inch and 14.5-inch dolls!